
My measurements are pretty consistently 43-37-50. For sewing, this usually puts me across 2-3 sizes, and knitting is no different! So when I decided to knit the Bouquet Sweater from Junko Okamoto, I knew I could need to modify the pattern a bit.
Bouquet comes in one size, and is meant to be oversized. The finished measurements for the Bouquet sweater give you a 46” chest, and a 14” bicep. These are two important measurements for me to keep in mind, as my bicep tends to require a full bicep adjustment when I sew, and is more like 15”. Also, because there is no waist shaping, the bust is the same measurement as the hip. Now, taking this into account, I knew I wanted to increase the overall size of the sweater. Because I would not get an oversized sweater with these finished measurements. I would get a semi-fitted sweater. There are a few ways to go about modifying this. BUT, essential to any modifications in knitting is GAUGE.
Gauge is measured in terms of both stitches and rows. Typically, the way you measure gauge is to knit a swatch with both the yarn and needles you’ll be using, and in accordance with how you’re knitting (i.e. in the round vs. flat). You usually knit something that’s 4” x 4”, block the swatch as you would the object and then measure. Reading gauge is something of an art—but using a Knit-Chek—the best $3 you’ll ever spend for your knitting bag—makes it a lot easier. Now, this is what you’re supposed to do. And you should do it! Because each knitter’s gauge is and can be radically different. It’s like a fingerprint. You and I can use the same needles, the same yarn, and end up with a piece of fabric that is totally different. And this gets even more complicated when you start doing things like changing the yarn. But that said, I often don’t. Mostly because I tend to know my own gauge pretty well.
Here are some things I know about my gauge at the moment:
I knit slightly tighter in the round
I knit tighter with colorwork
I have been more stressed lately, so my gauge has been tighter than normal
And here are some things I know about gauge for the Bouquet Sweater
It’s a little tight for my preferences and climate.
The tighter the gauge, the warmer the sweater
Junko’s patterns are often written at a tighter gauge than I personally want
So, I decided to go up a needle size. I used a US 5 for the ribbing, and a US 7 for the stockinette—switching to a US 8 once I started the color charts. And with these needles, my gauge was about 18 st/4”. The original pattern called for 20 st/4”. So, to figure out roughly what my new sweater will measure—I do the following math:

Look at that pretty tubular cast on!
The body has 230 stitches after the sleeves are divided, so at 20 st/4”, that is 46”. But, at 18 st/4”, that is 51”. This is more what I am looking for. I also like the fabric—it could really even be looser—and I don’t have to change anything about the pattern, a far more complicated endeavor. Upon perusing Ravelry projects, I also decided that I would want to make the neck a little wider. The pattern calls for you to use a tubular cast on, which is a lovely touch a really worth the effort. As I read ahead in the pattern, I see that you cast on 50 stitches and then increase to 120 (spread out over two increase rounds) before commencing short rows. So, not wanting to meddle with the short rows (although on reflection, maybe I should have), I cast on 55, and went from there, omitting one round of increases.
Knitting bouquet was a fresh challenge for me. I knit a lot of colorwork, but this was challenging for a few reasons:
the long float lengths
the asymmetrical pattern meant I couldn’t memorize it
The long float length was really challenging! I don’t like to leave long floats, usually following the rule of thumb that you don’t want more than 1” floats. There were sections that were 6” or more and as hard as I tried, there was still considerable bunching. I crossed my fingers and hoped it would block out. The asymmetrical pattern was also challenging, as was the fact that the colorwork below the divide did not repeat and was spread out over 230 stitches and two charts. Eek!

Almost all done. Ready to finish, but still ready to knit more with this yarn.
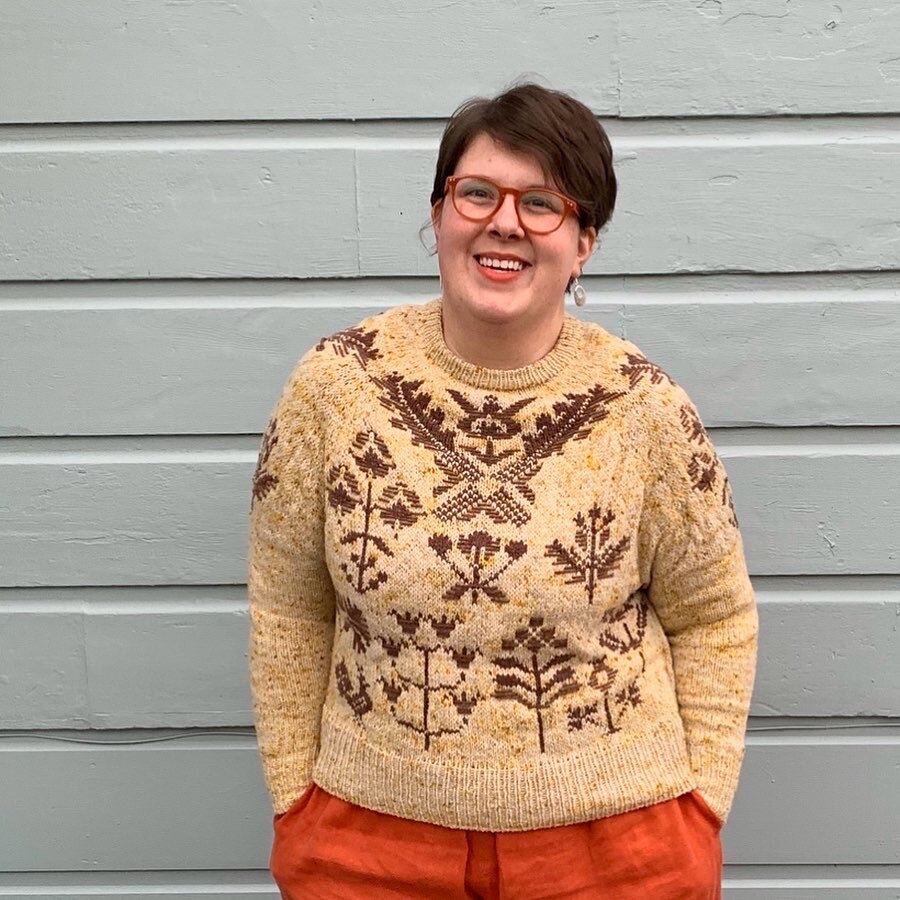
BUT, none of this should dissuade you from knitting this pattern! It all blocked out. I only made one mistake that I dare you to find. And while my gauge got a bit tighter (I blame some tension issues due to the extra long floats), I ended up with something closer to 19 st/4”, and a finished measurement of 49”. Not quite oversized, but certainly relaxed!
There is only one sad story in all of this. I am not entirely happy with how the back short rows work. This may be due to a combination of my changes. or the fit on my own body, but the back is brought up a bit too high. BUT, I do think this will lessen over time as I wear the sweater and the yarn continues to relax. And I will wear this sweater, think of marigold summers, and enjoy the squishy wool keeping me warm.
