
My Pietra Pants Fit Journey: Part 1
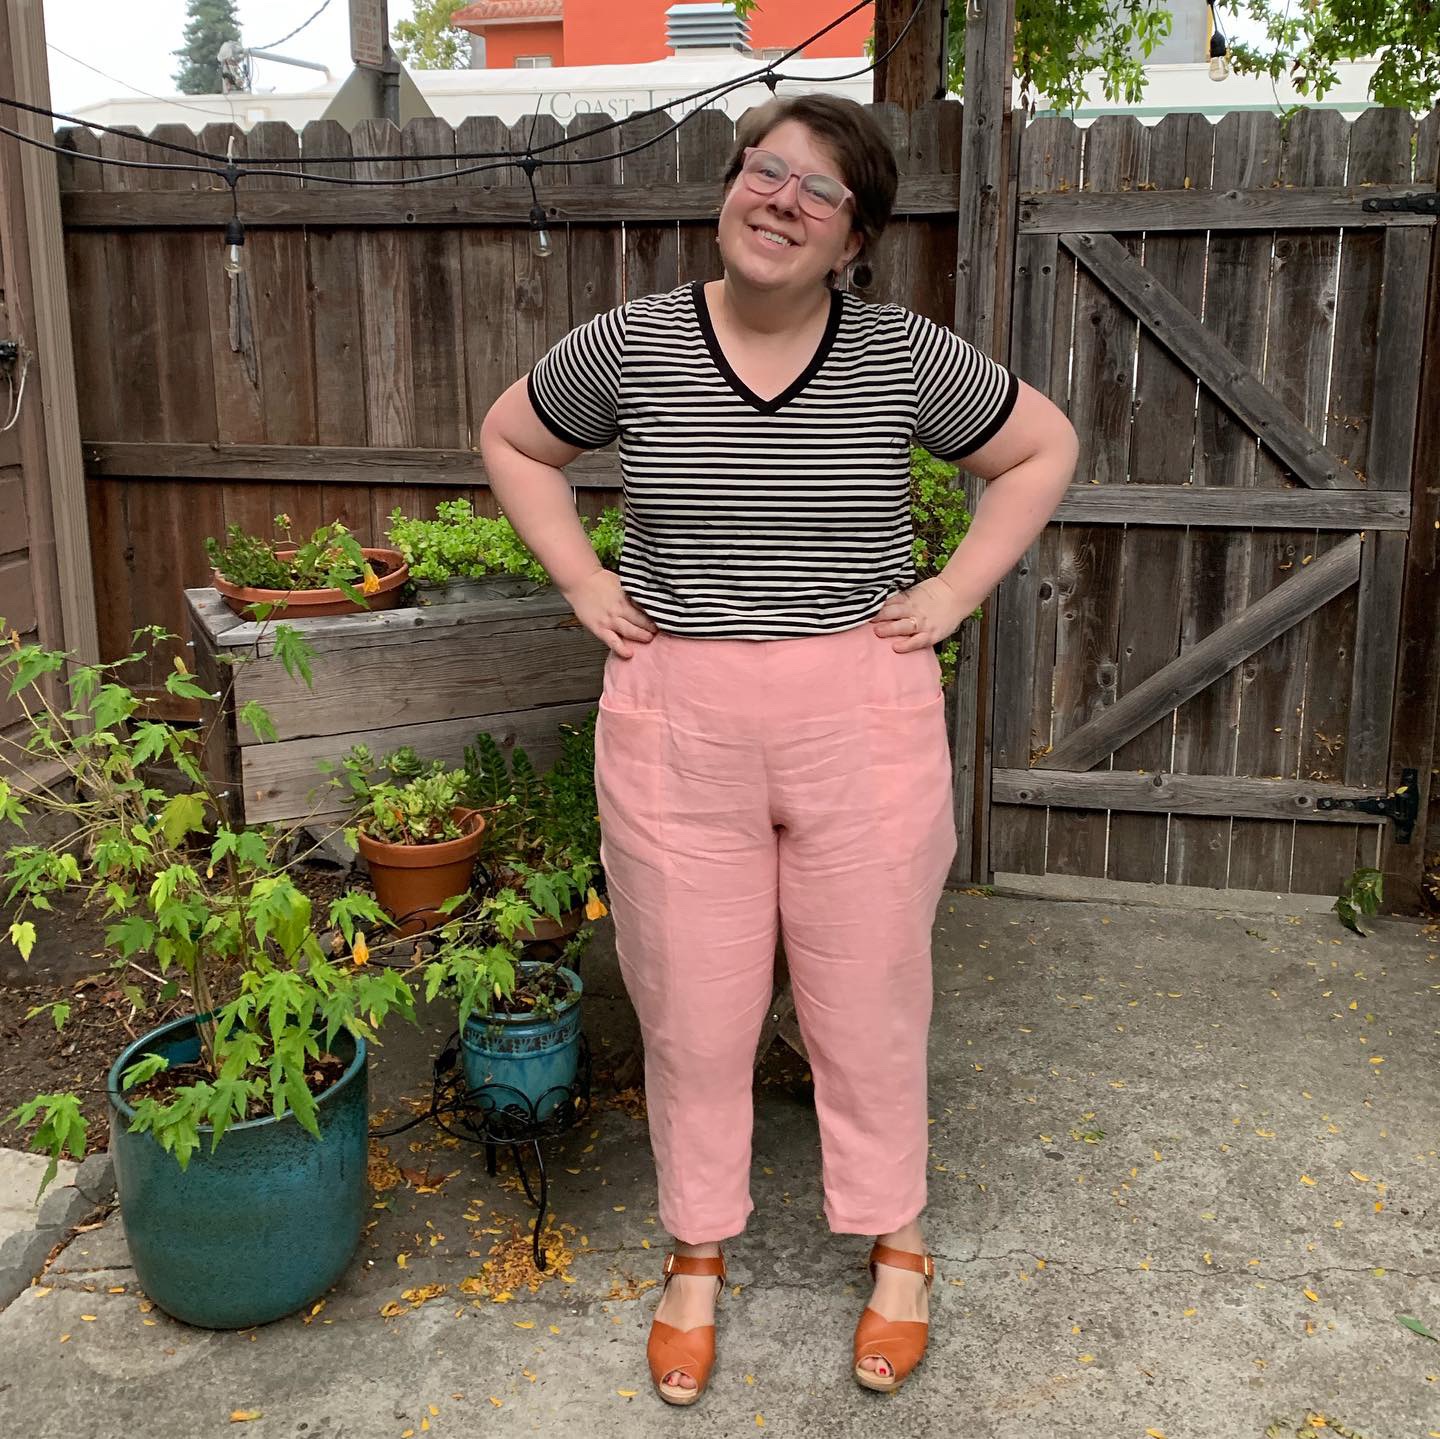
Looking happy in my new Pietra Pants.
When the Rome Collection from Closet Case Patterns was released, I was really excited, but also frustrated. I love the styles and could totally see them integrating into my South East Asia travel wardrobe. But, I am near the top of the Closet Case size chart, and my hips are completely off the chart. I am eagerly awaiting the expanded sizes from Closet Case, but it looks like we all get to keep waiting.
And when it comes to hips, this really matters for pants. And I love the Pietra Pant! A nice flat front, plus an elasticized back—all promising slightly dressed up comfort. My measurements are 36”-50” (53”-ish sitting), and the tapered pant has a largest finished hip of 49.5'“. Uh, that isn’t going to work. BUT, the shorts have a largest finished hip of 53”. My brain started to think, this could work…
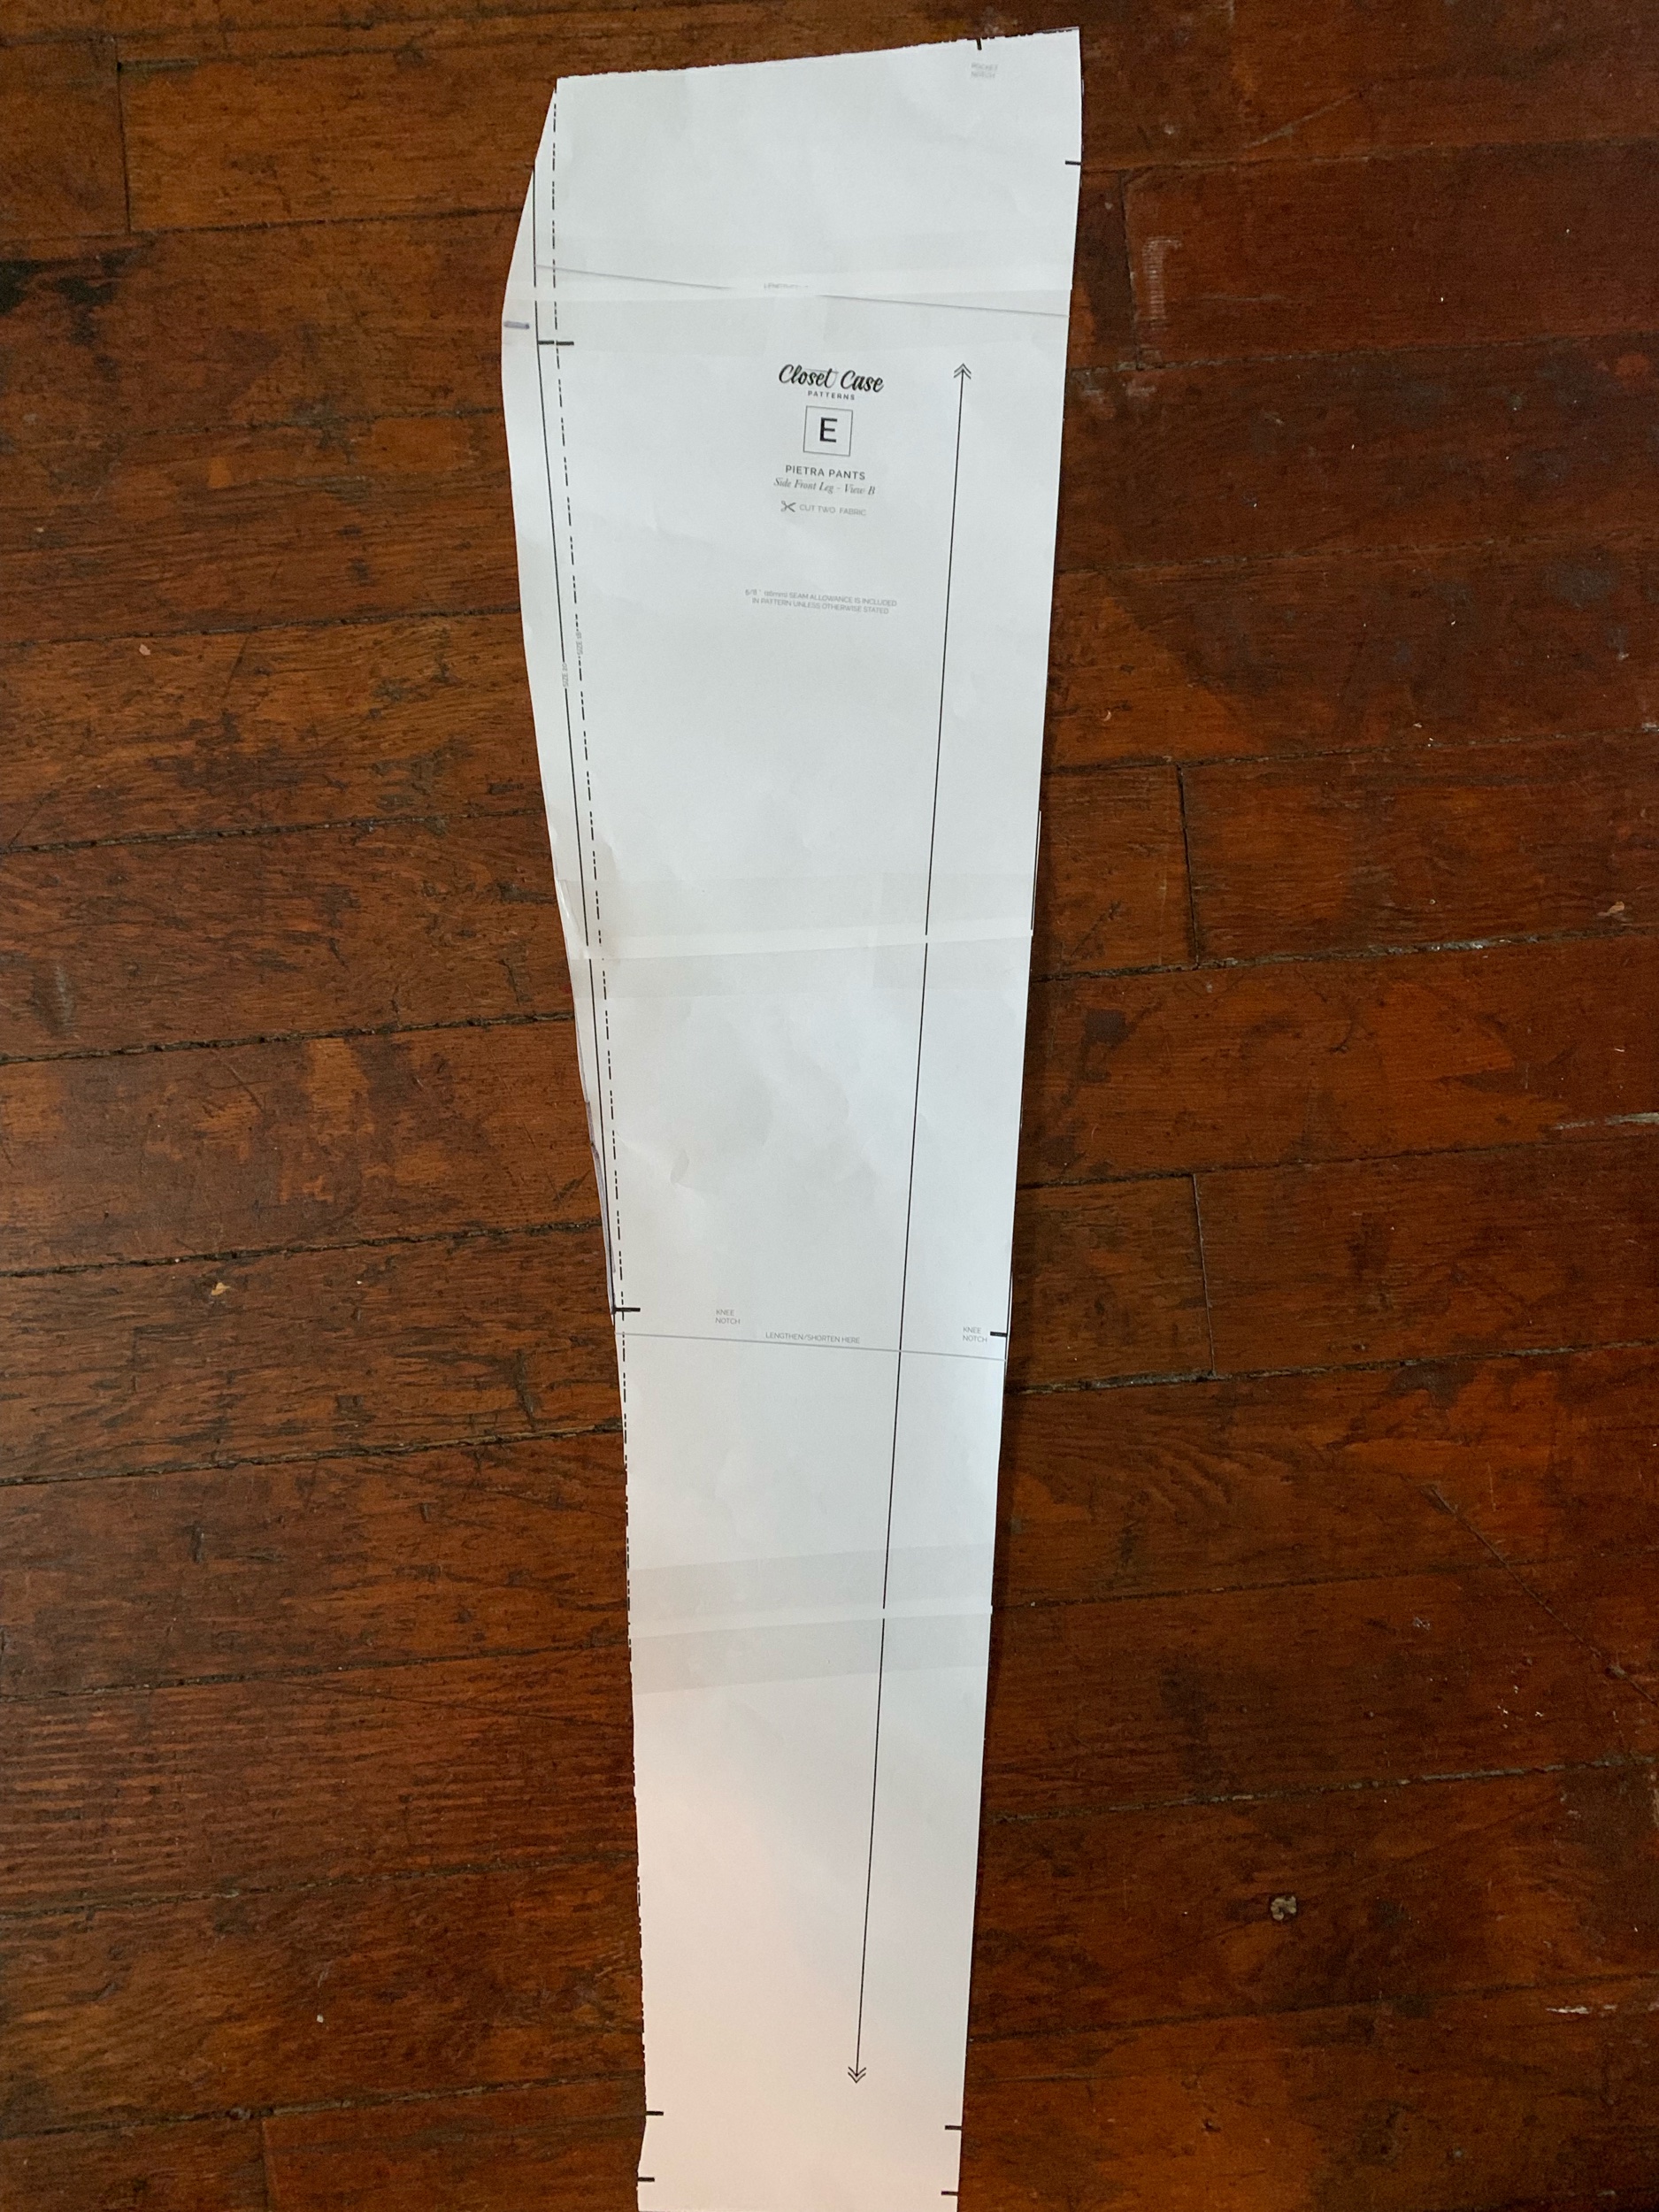
So, in my mind, I want my pants to look good when I stand, and not burst at the seams when I sit. This means I want some positive ease when I sit, but not too much. Maybe .5”. So, if I overlaid the shorts on top of the tapered pants, I should be able to get a fit that worked for me. And that’s what I did! Here’s what my pattern pieces looked like:
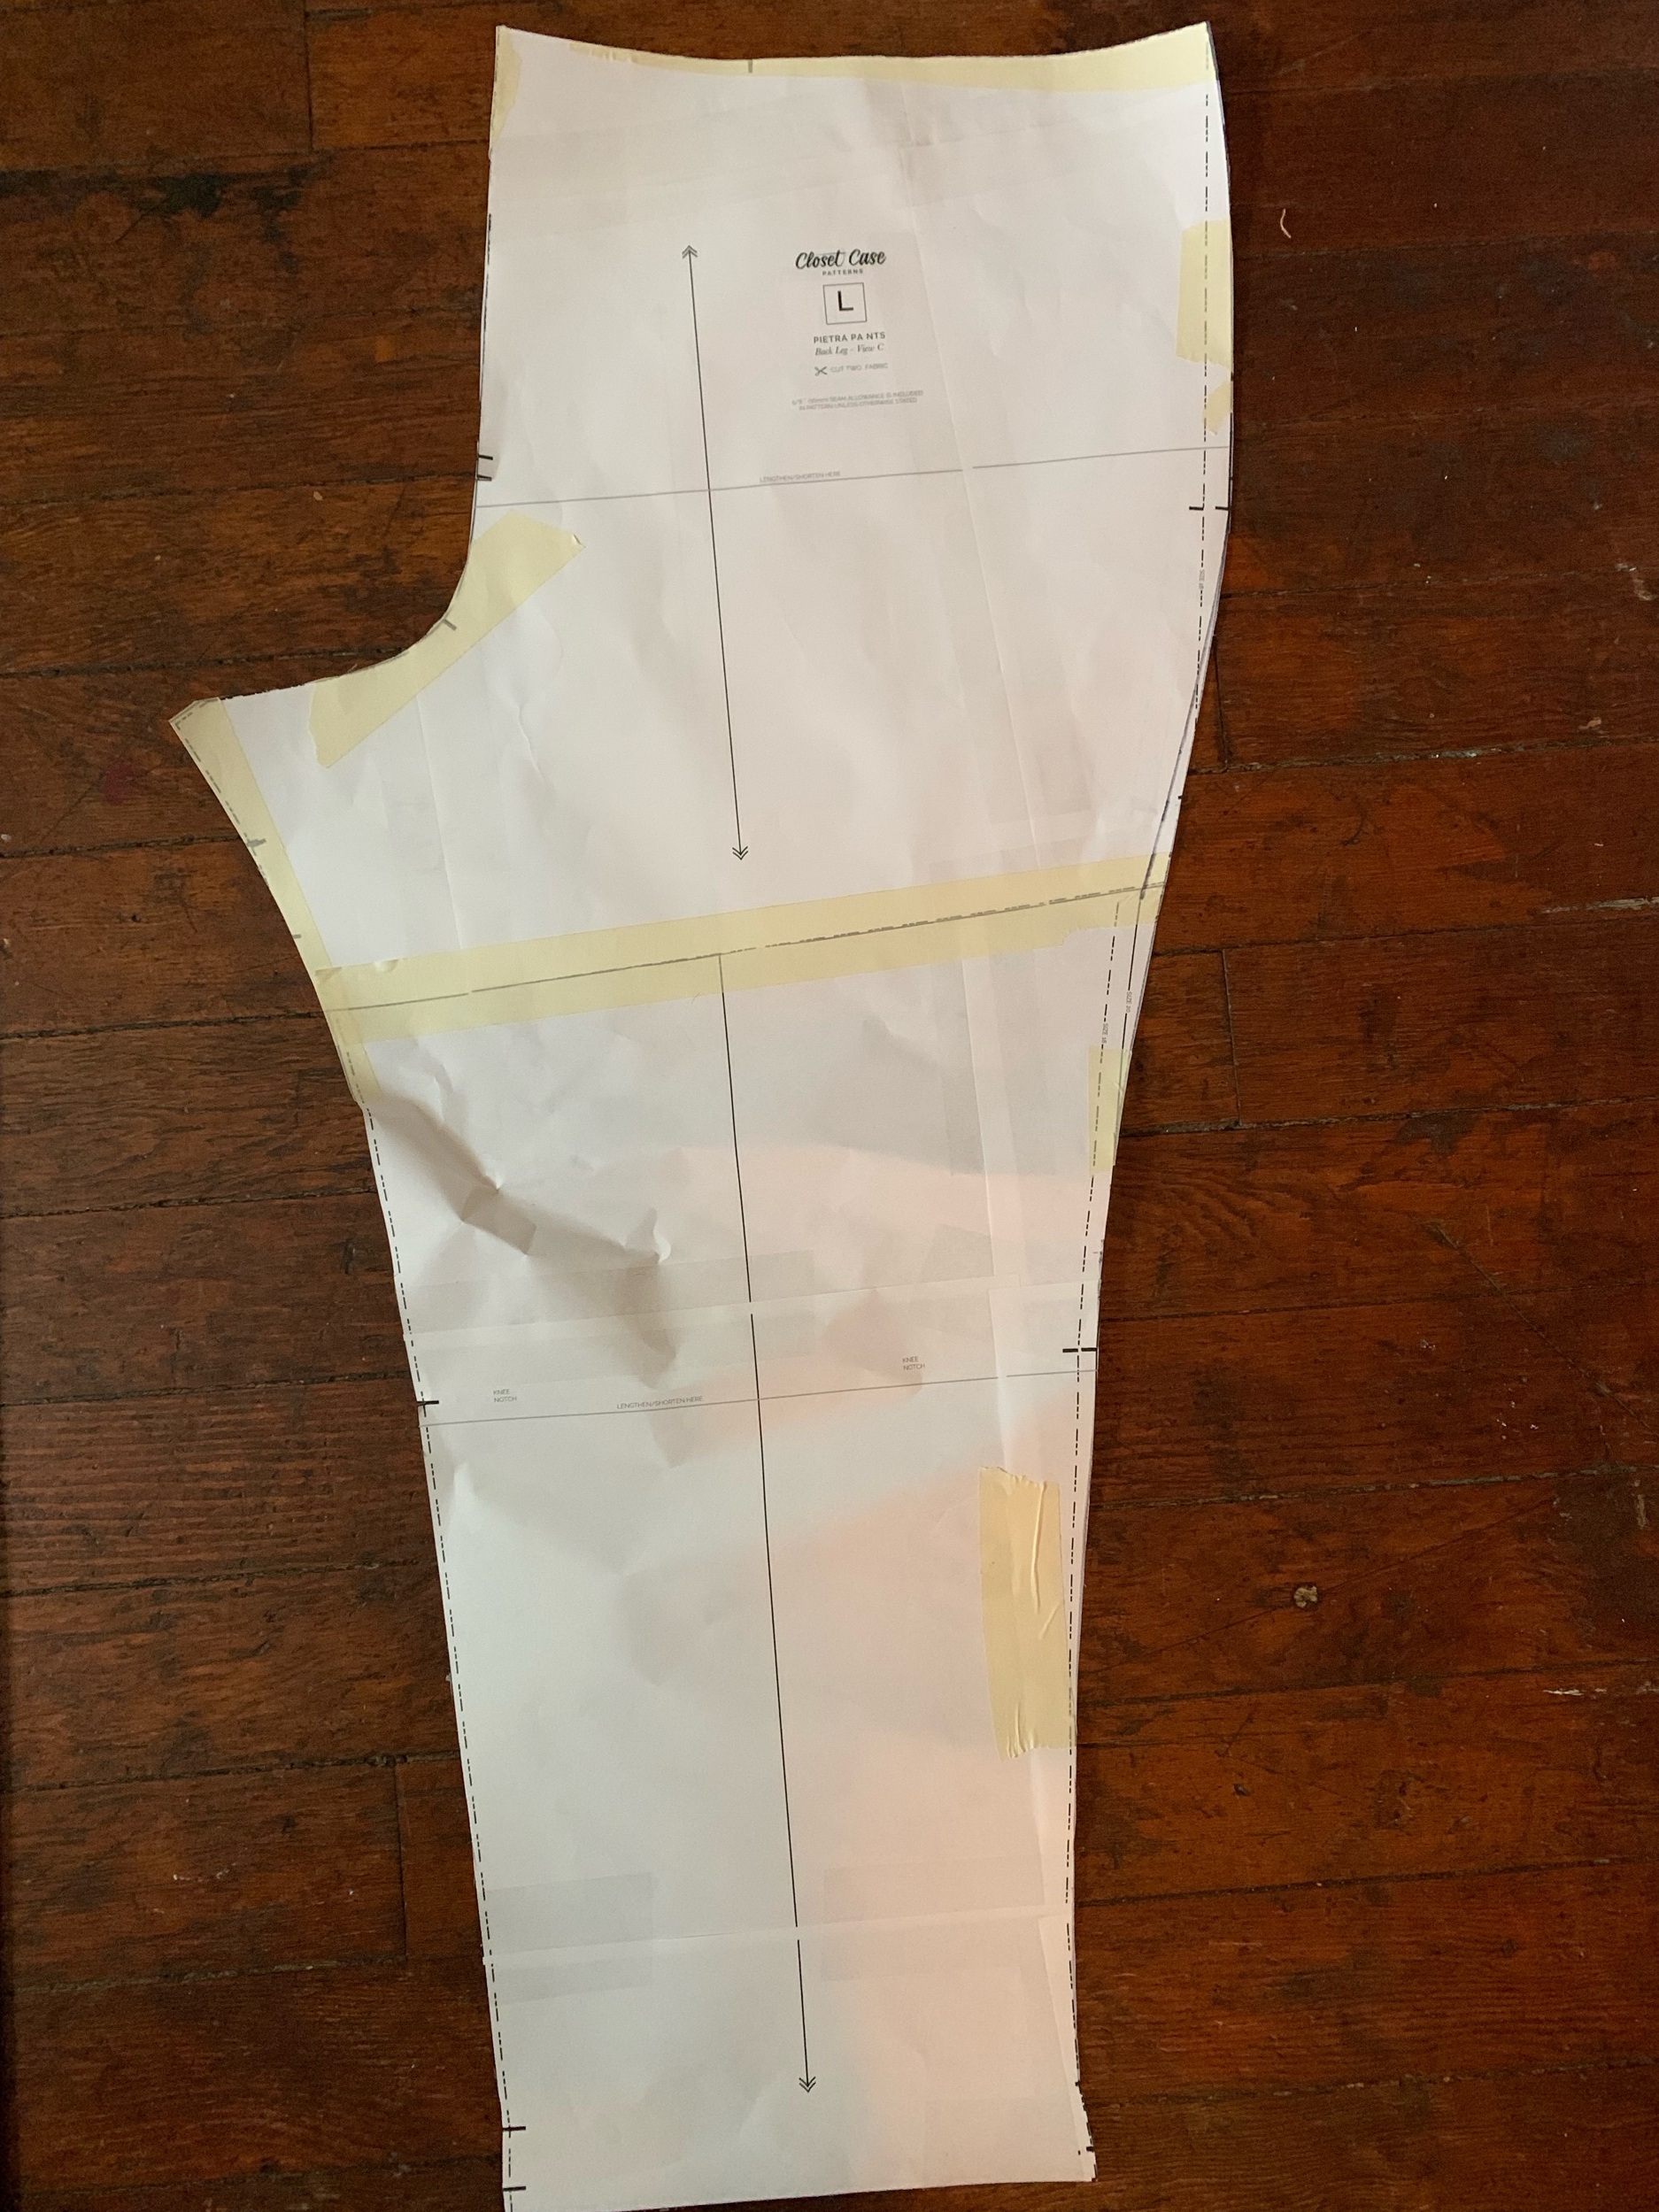
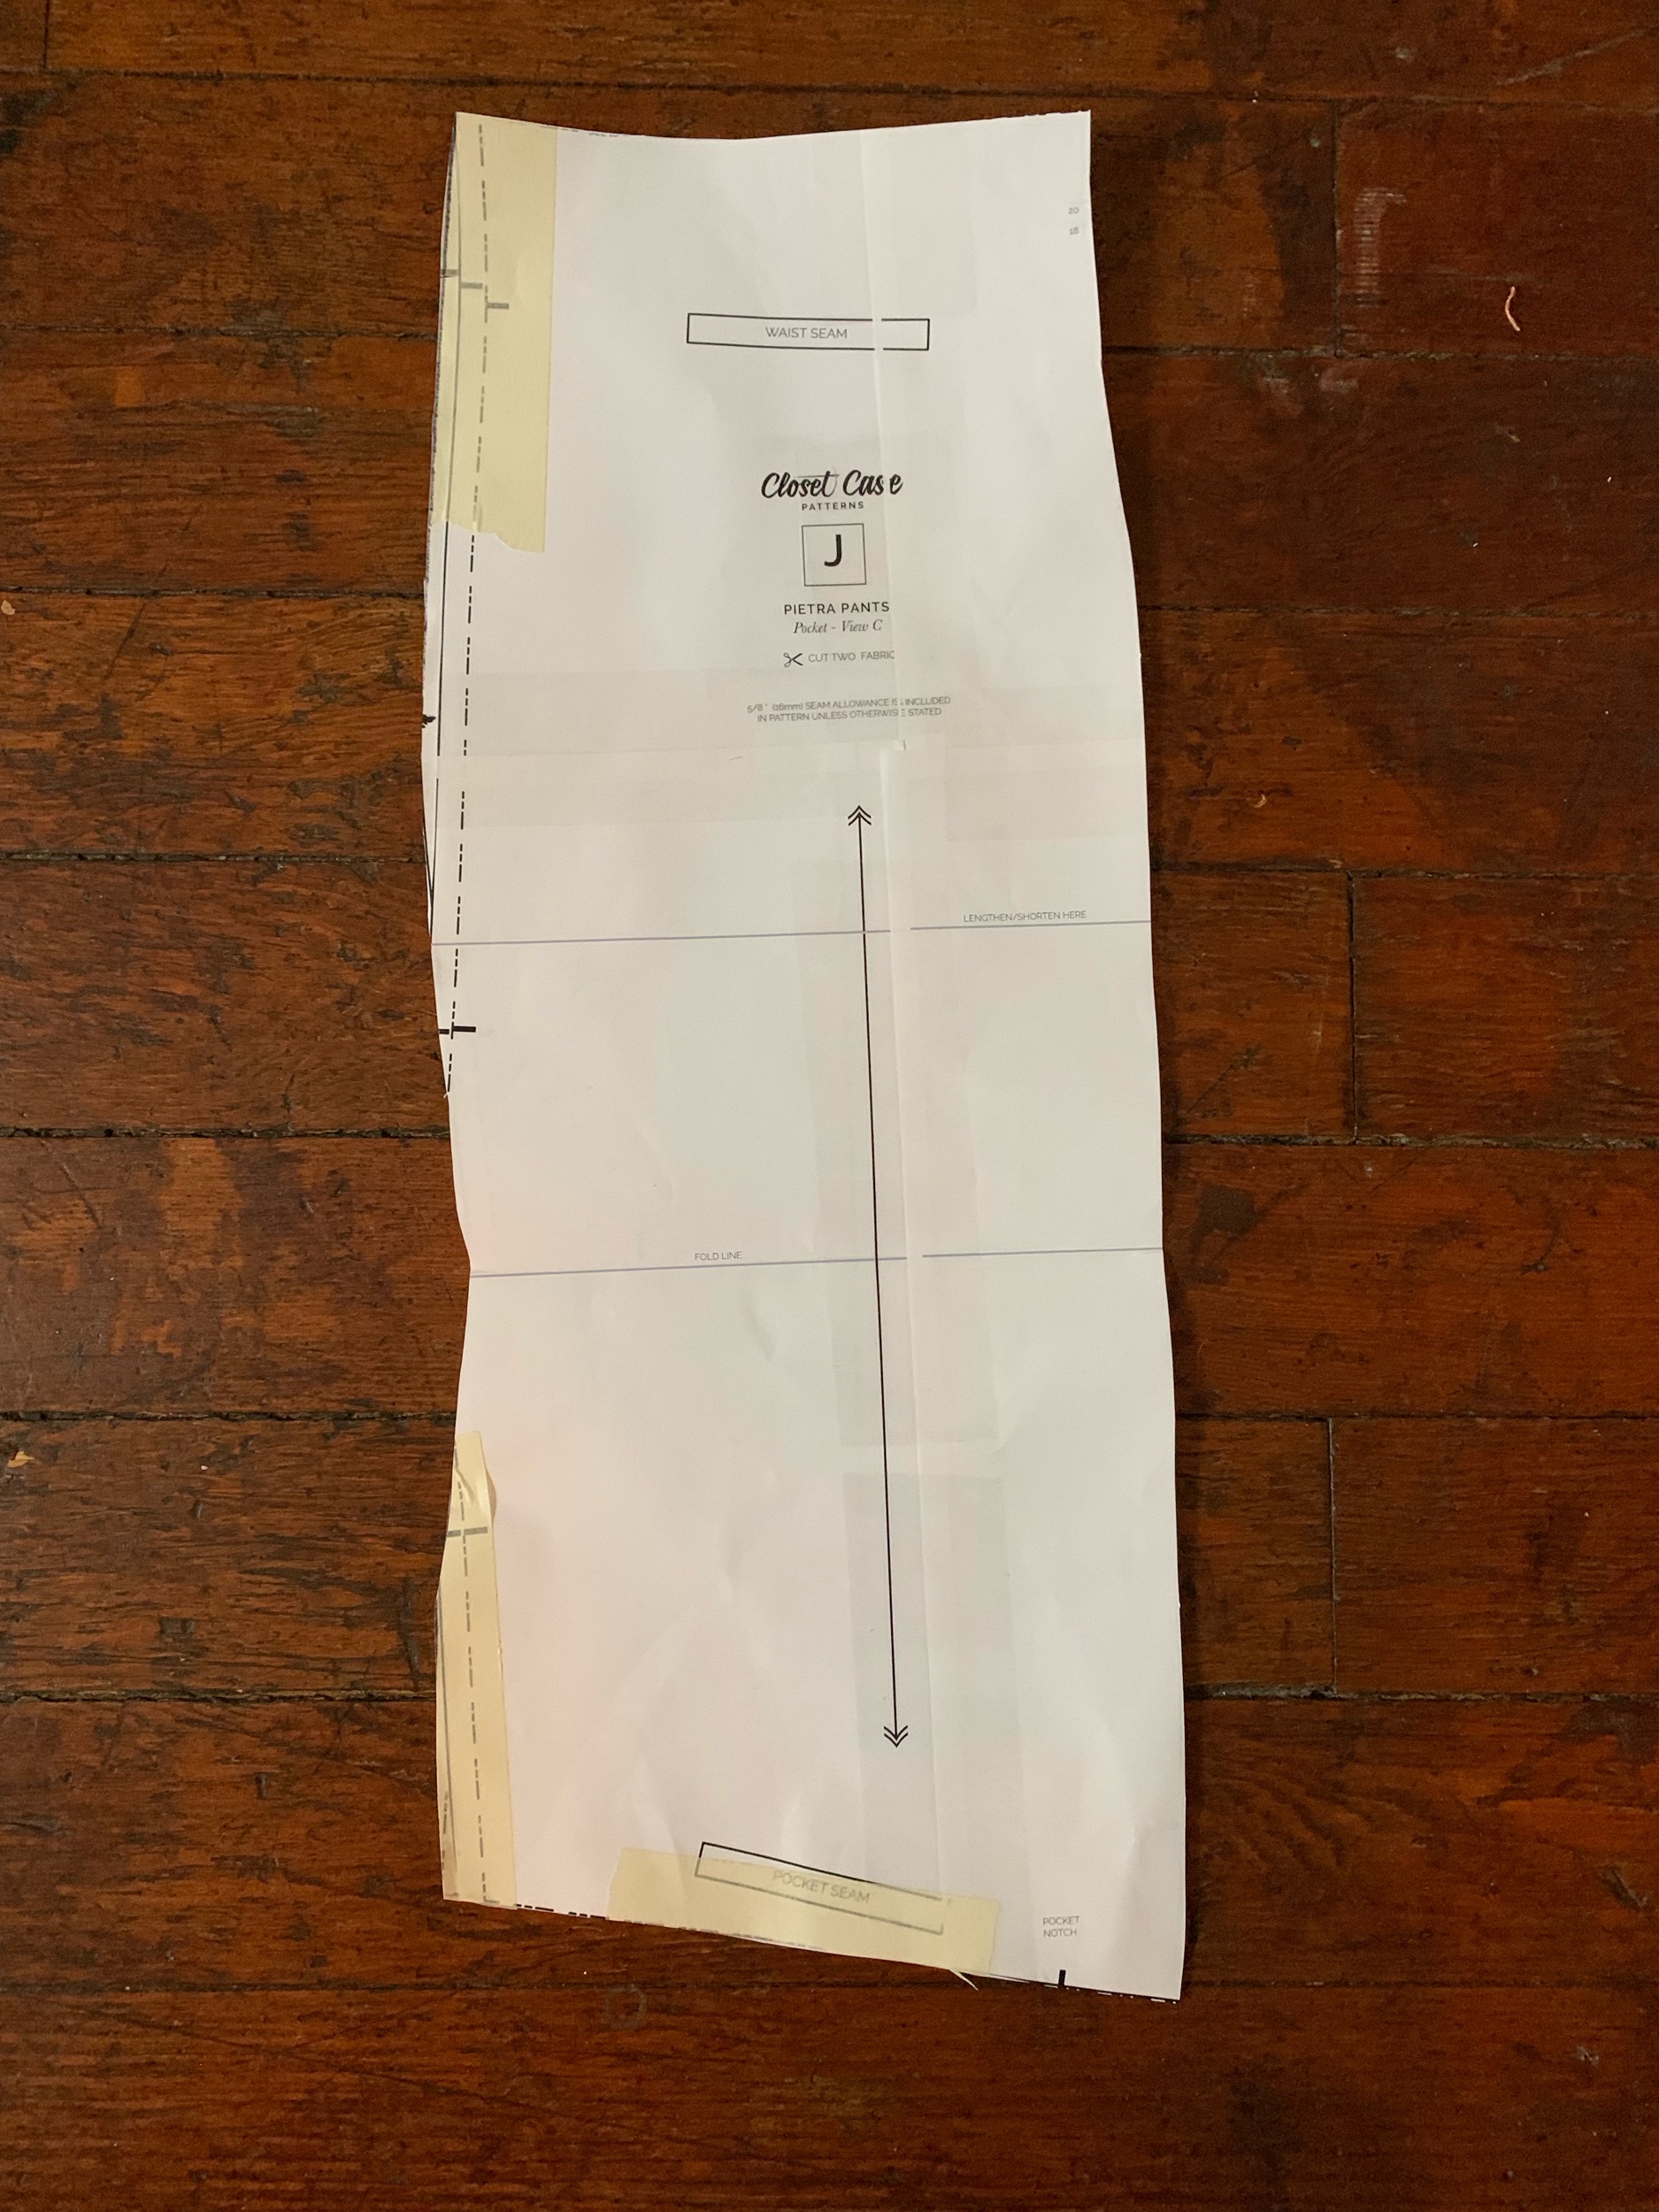
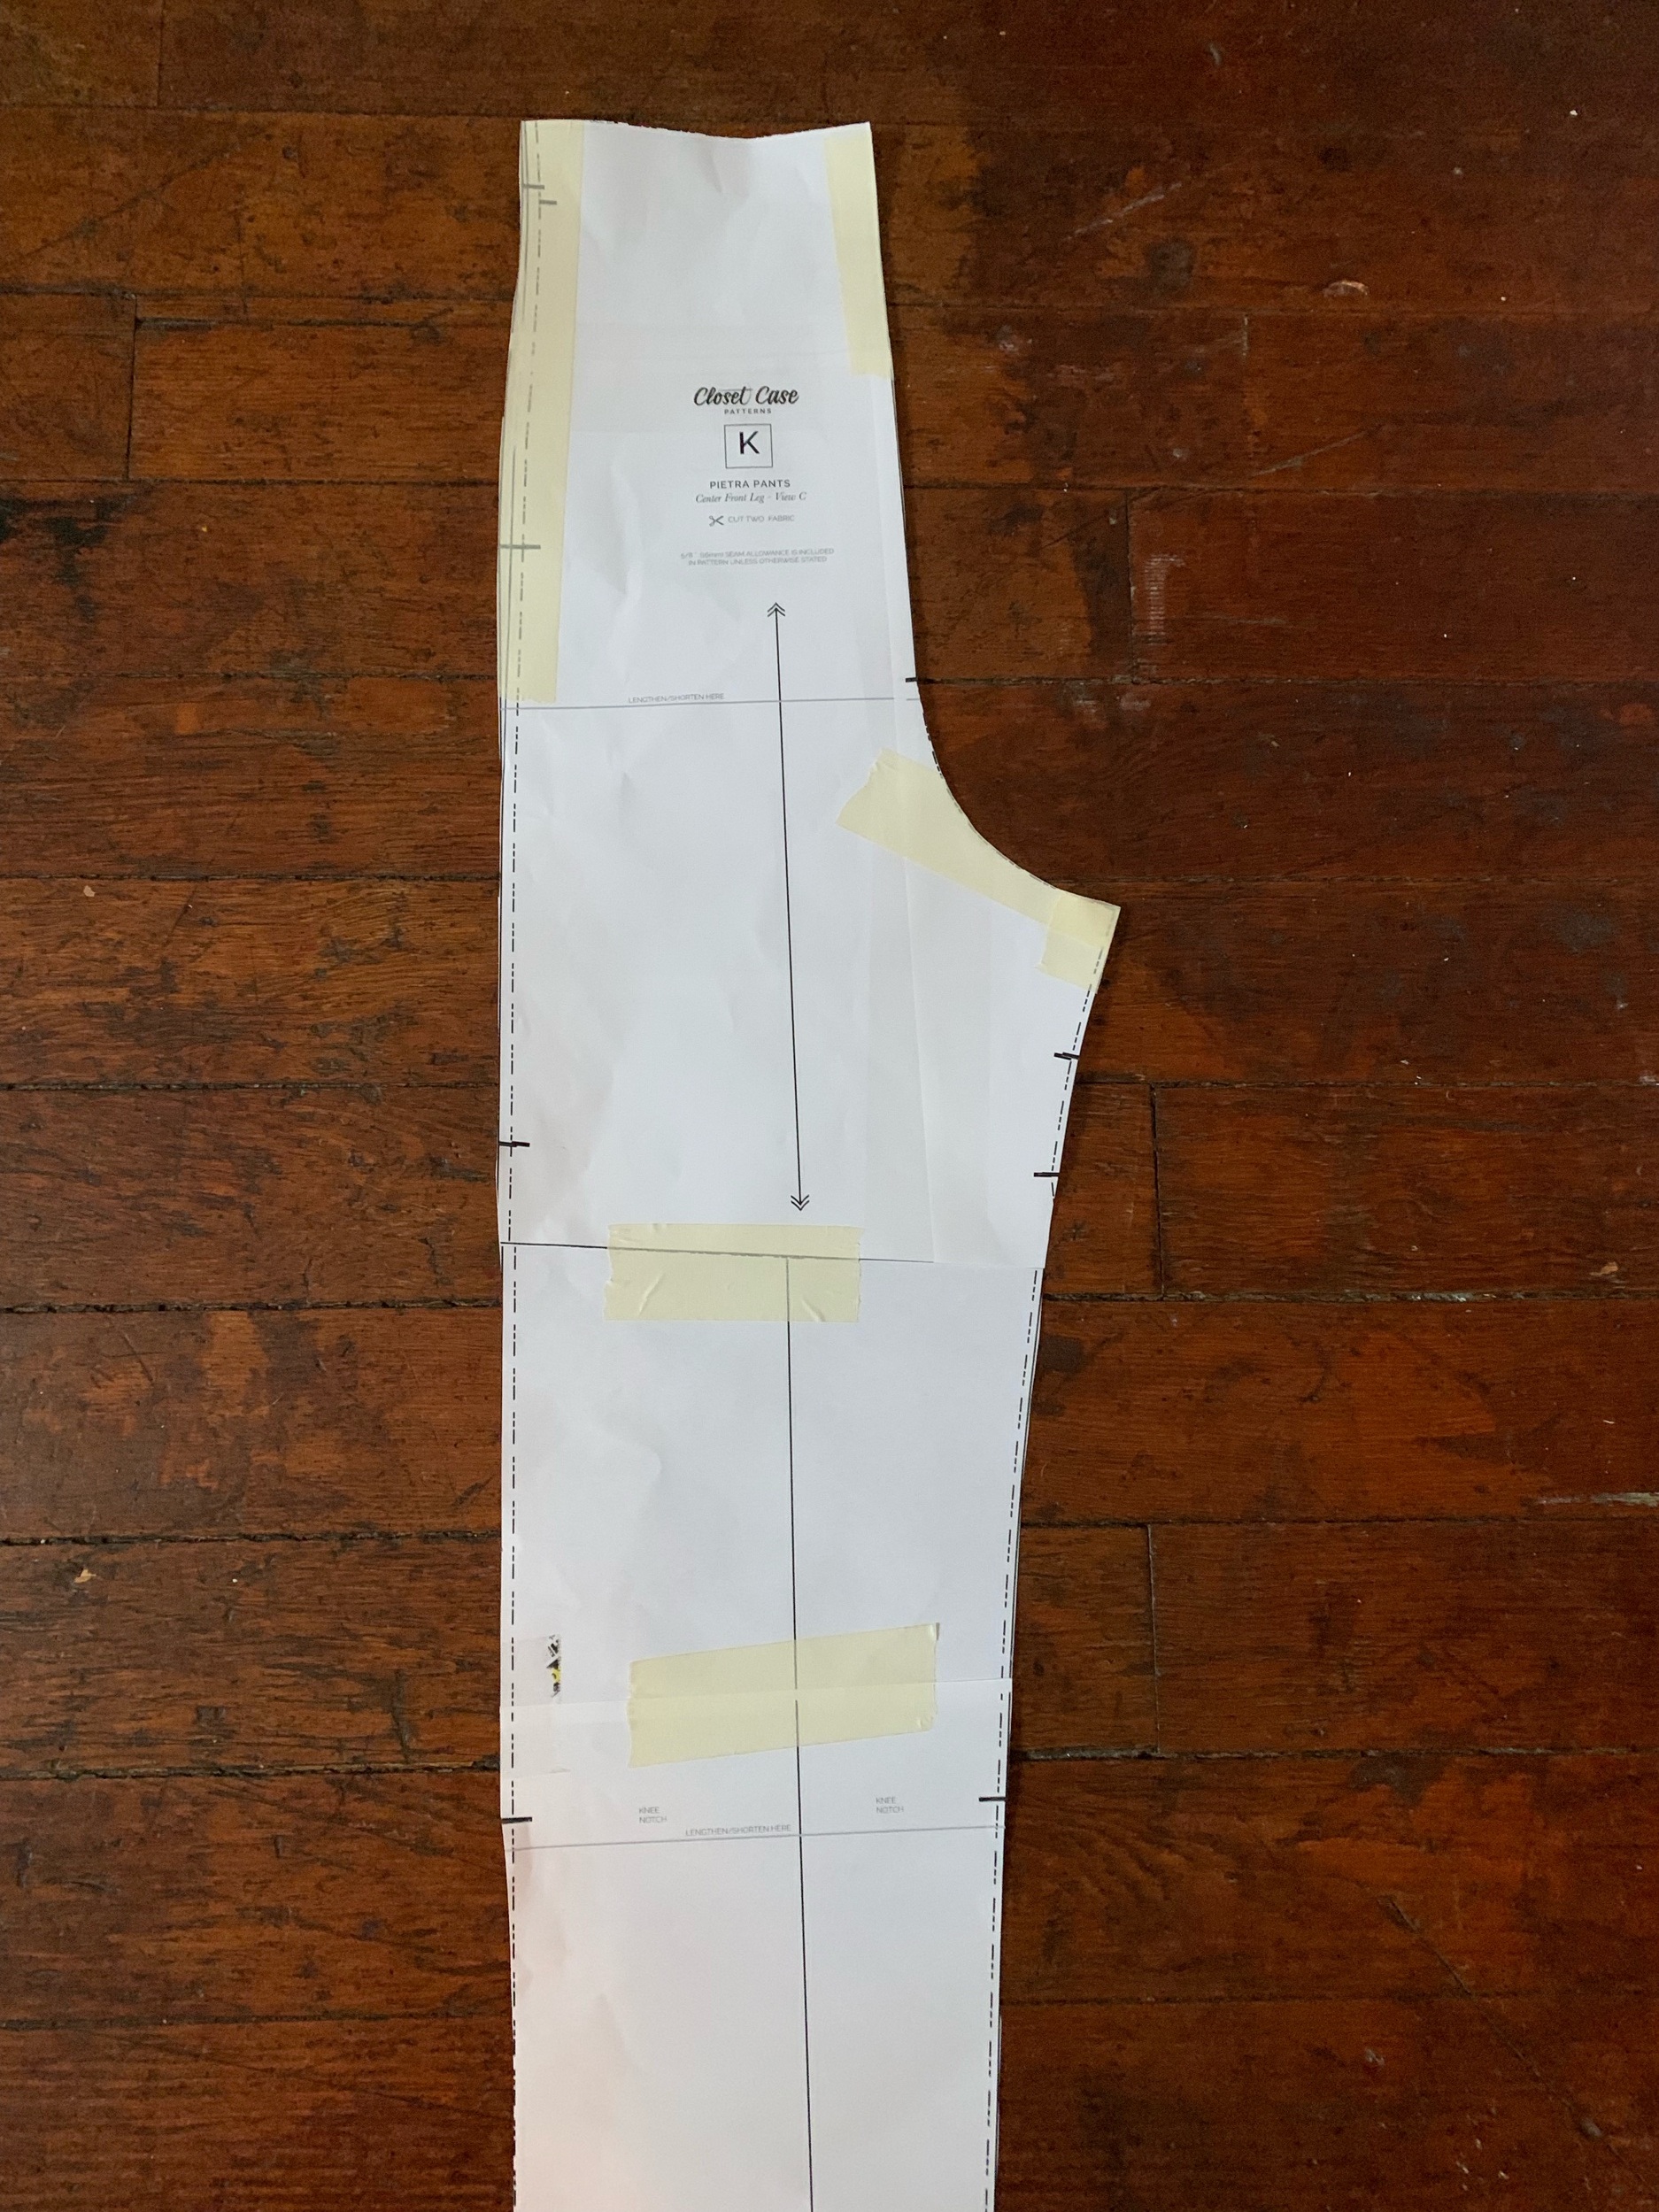
After I had the back leg graded, I followed this new hip curve for all the other pieces, using the grading instructions from the Closet Case booklet. I decided I could get the extra ease in the hip by sewing into the seam allowance by .25” for each leg.
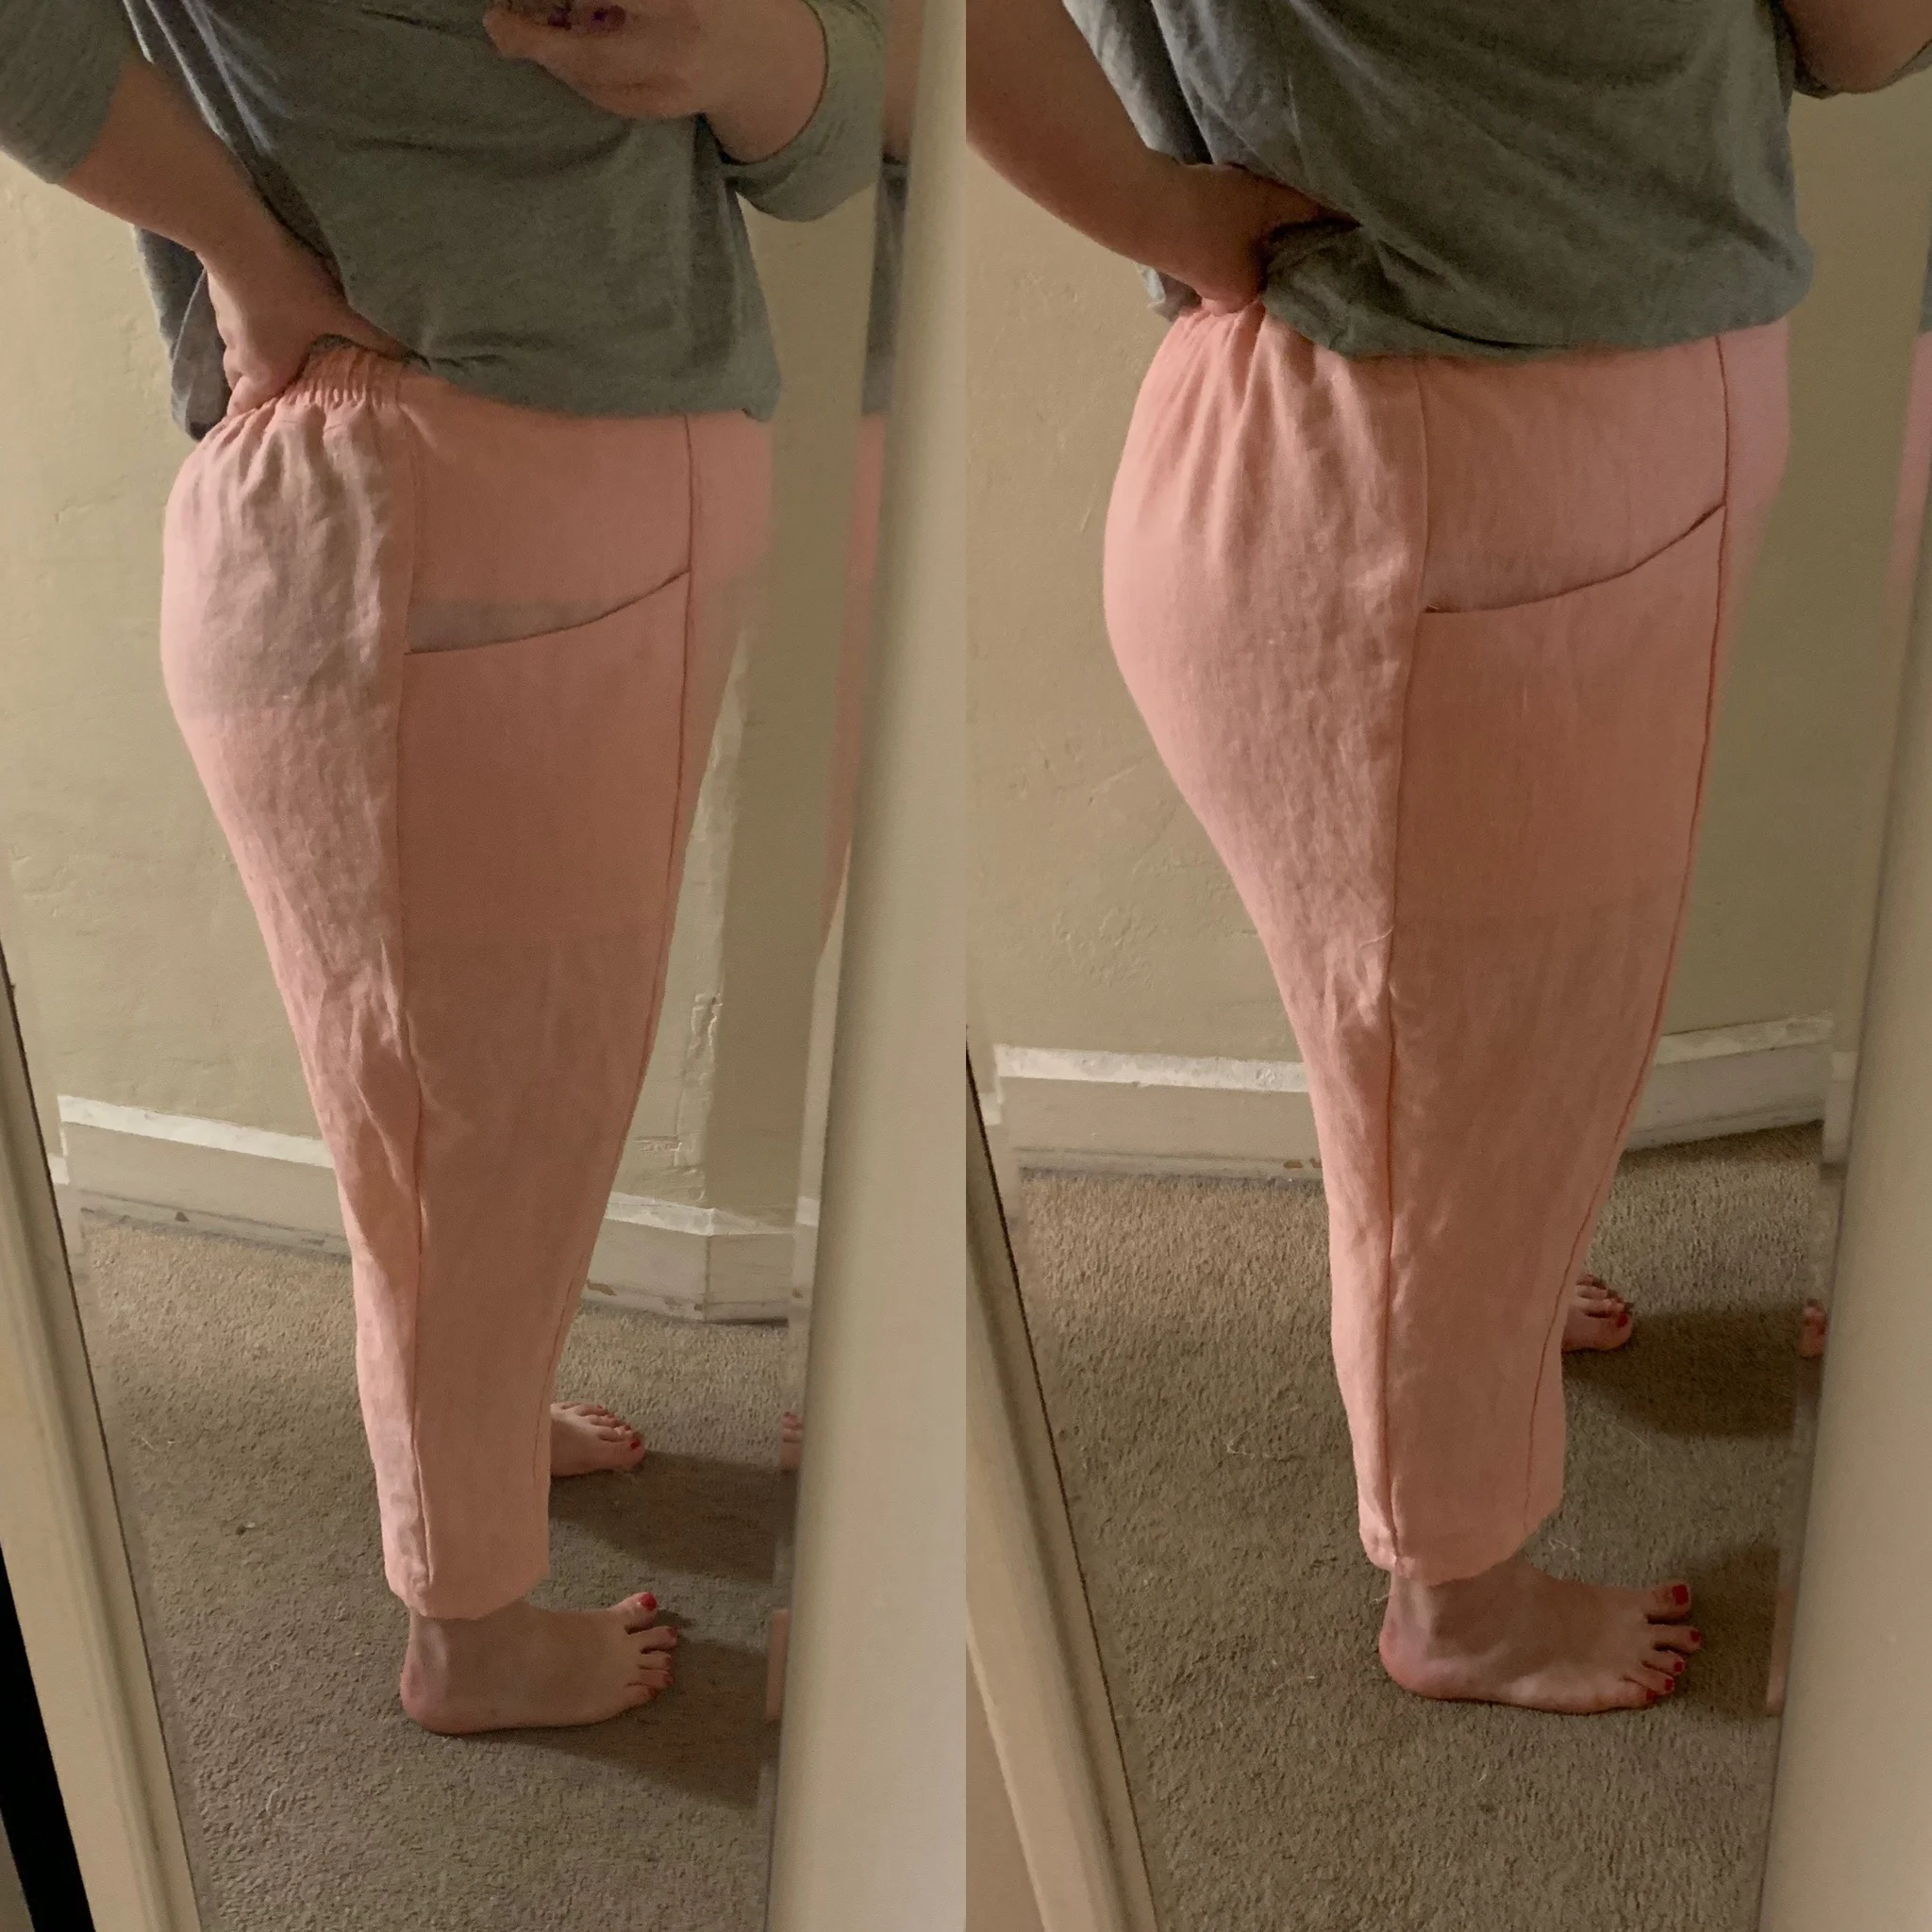
Version 2; Version 1 (note to self, no black underwear with these pants!) Also, let’s smooth out the curve at the knee.
My first run was almost there! The pants fit, they easily went over my hips, but I wasn’t super happy with the ankle. I wanted them more tapered. So I graded an extra inch from the knee notch. This made them so much better! The overall silhouette improved dramatically, and I really liked the fit.

Not bad from behind! But let’s raise the rise a bit…
So, it was time for a test run. I wore them to work one day. Immediately upon sitting down, I knew I needed to do two things: 1. increase the back rise by about 1”; 2. add more ease through the thighs.

the side view isn’t bad! I also smoothed out the curve at the knee
Neither fit issue was super apparent while standing and walking around in my linen pietras, but I would be a lot more comfortable with a little more coverage in the back and fear less for the longevity of my seams with a little more ease in the thighs. So, back to work!