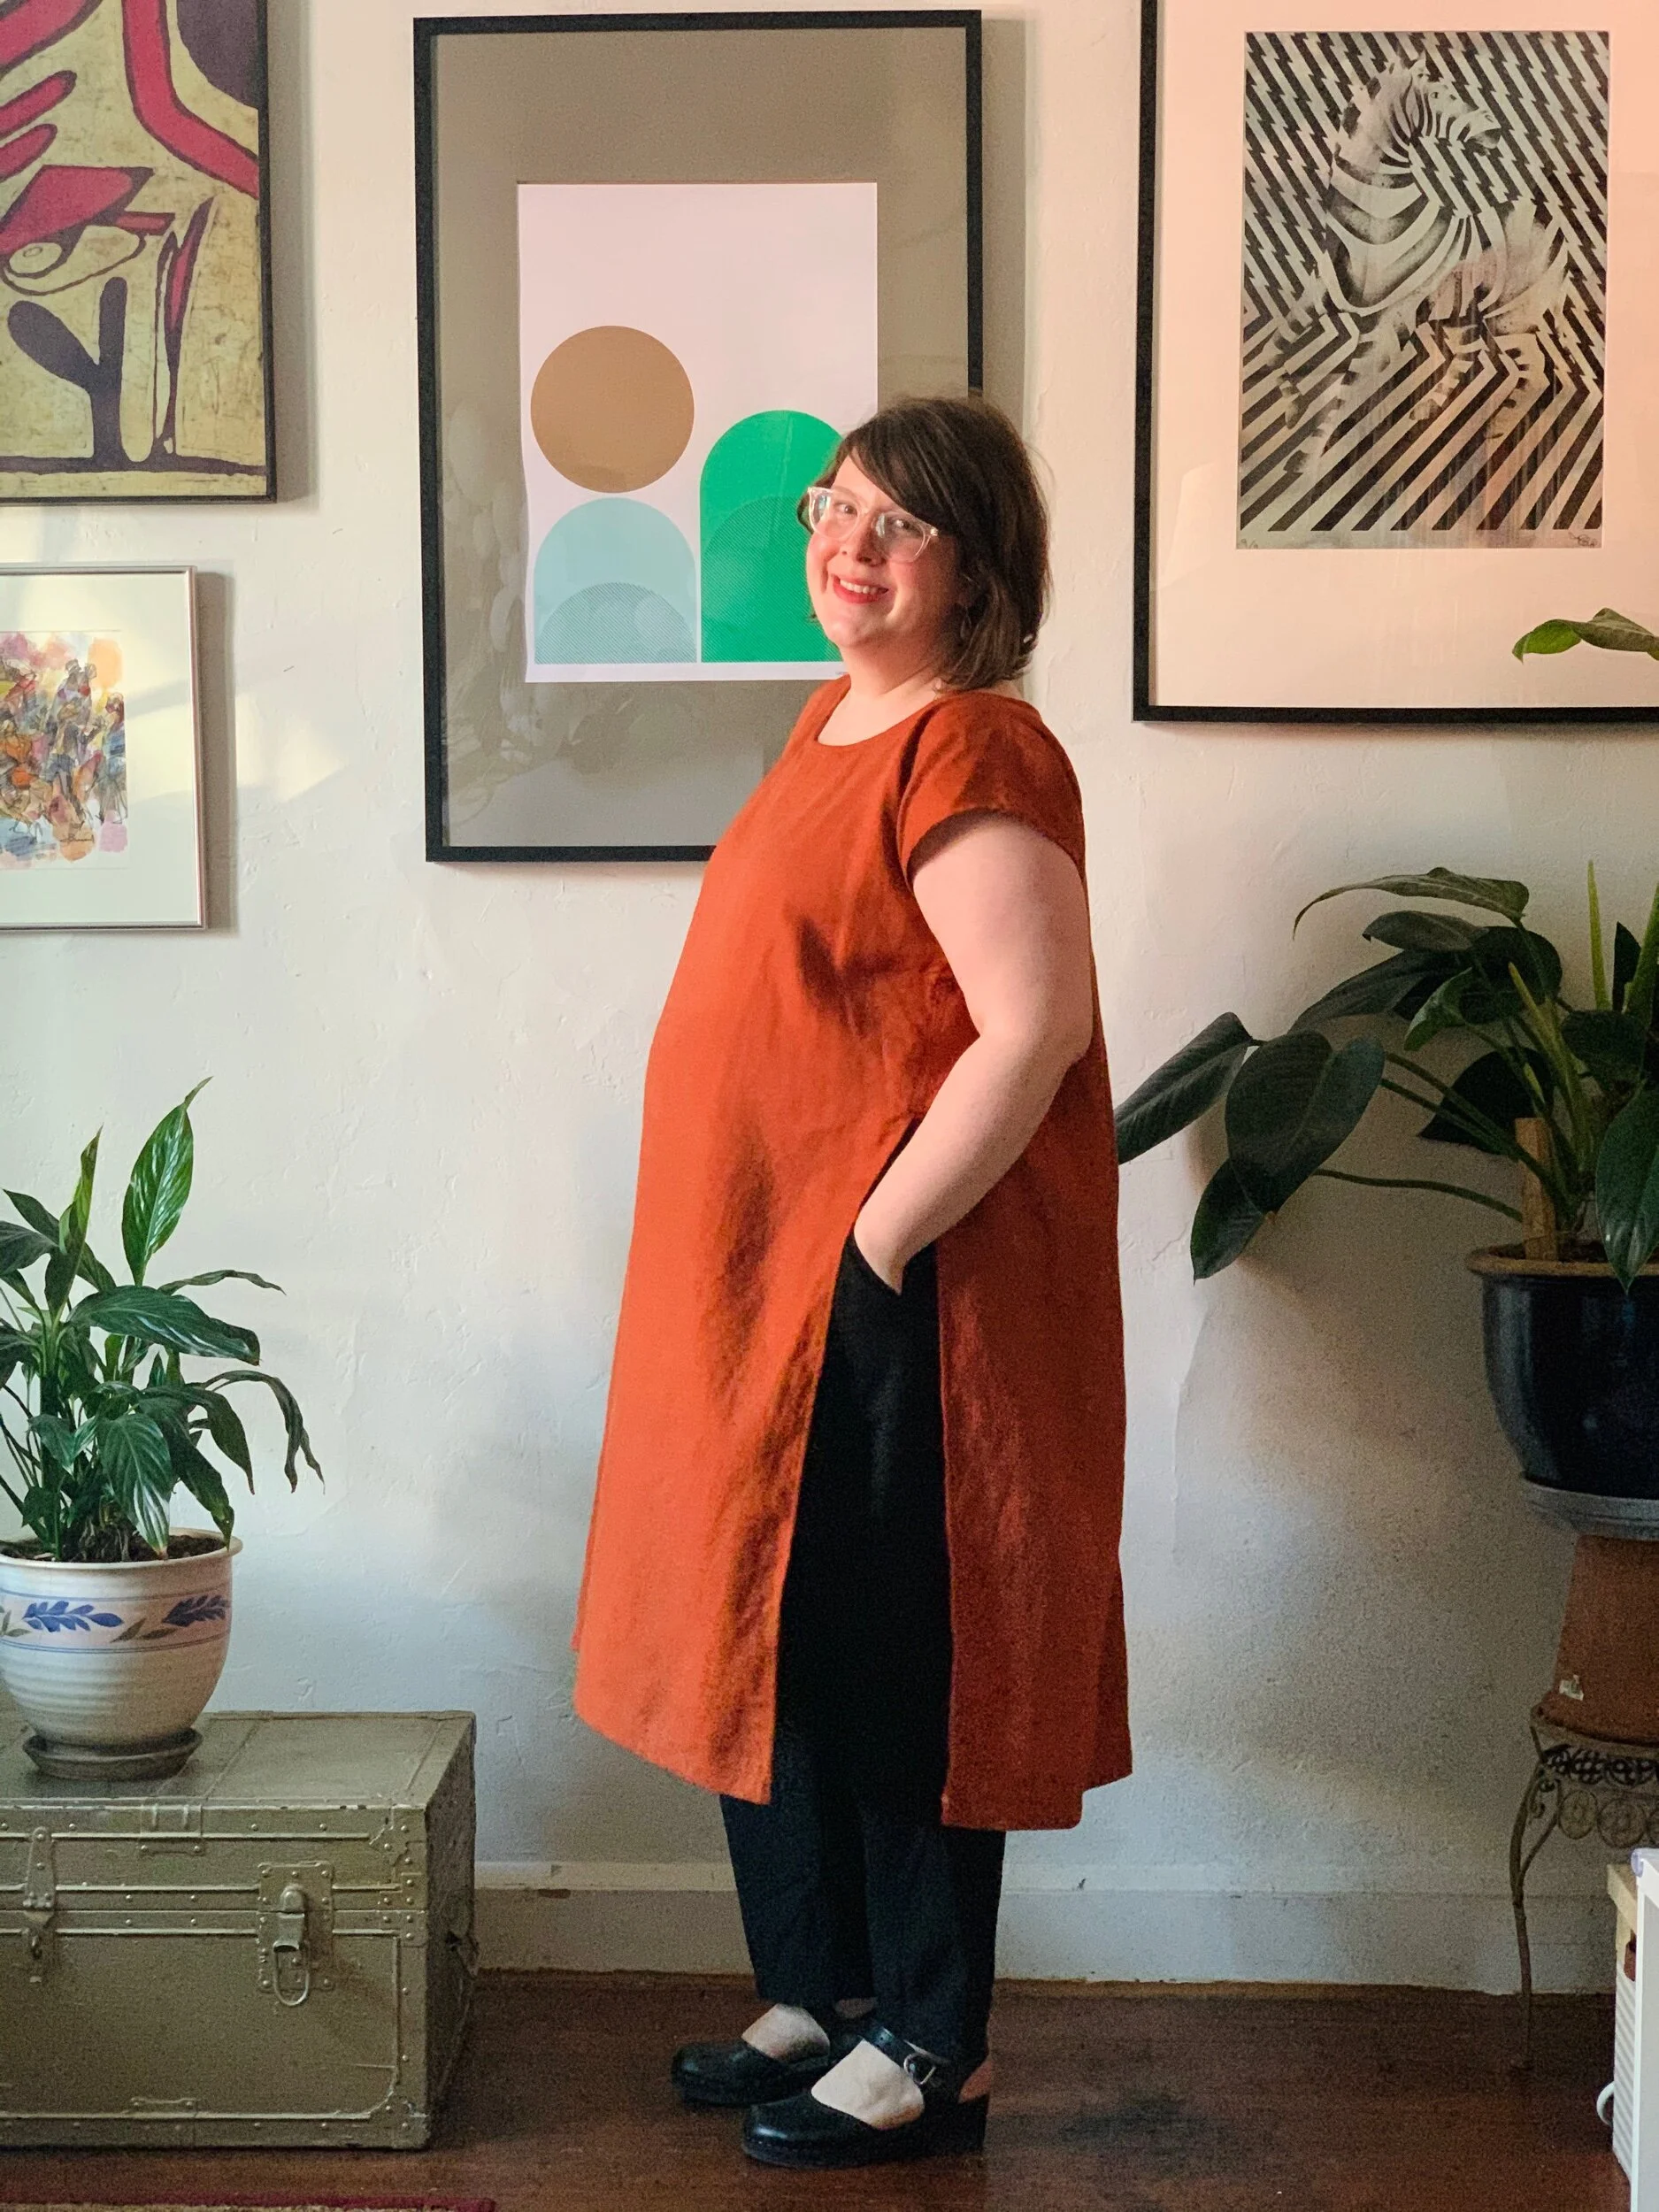
Look! I made a new pair of pants! And they fit like a dream. Nearly out of the pattern envelope, too. Hello, new Crew Trousers, I think I love you!

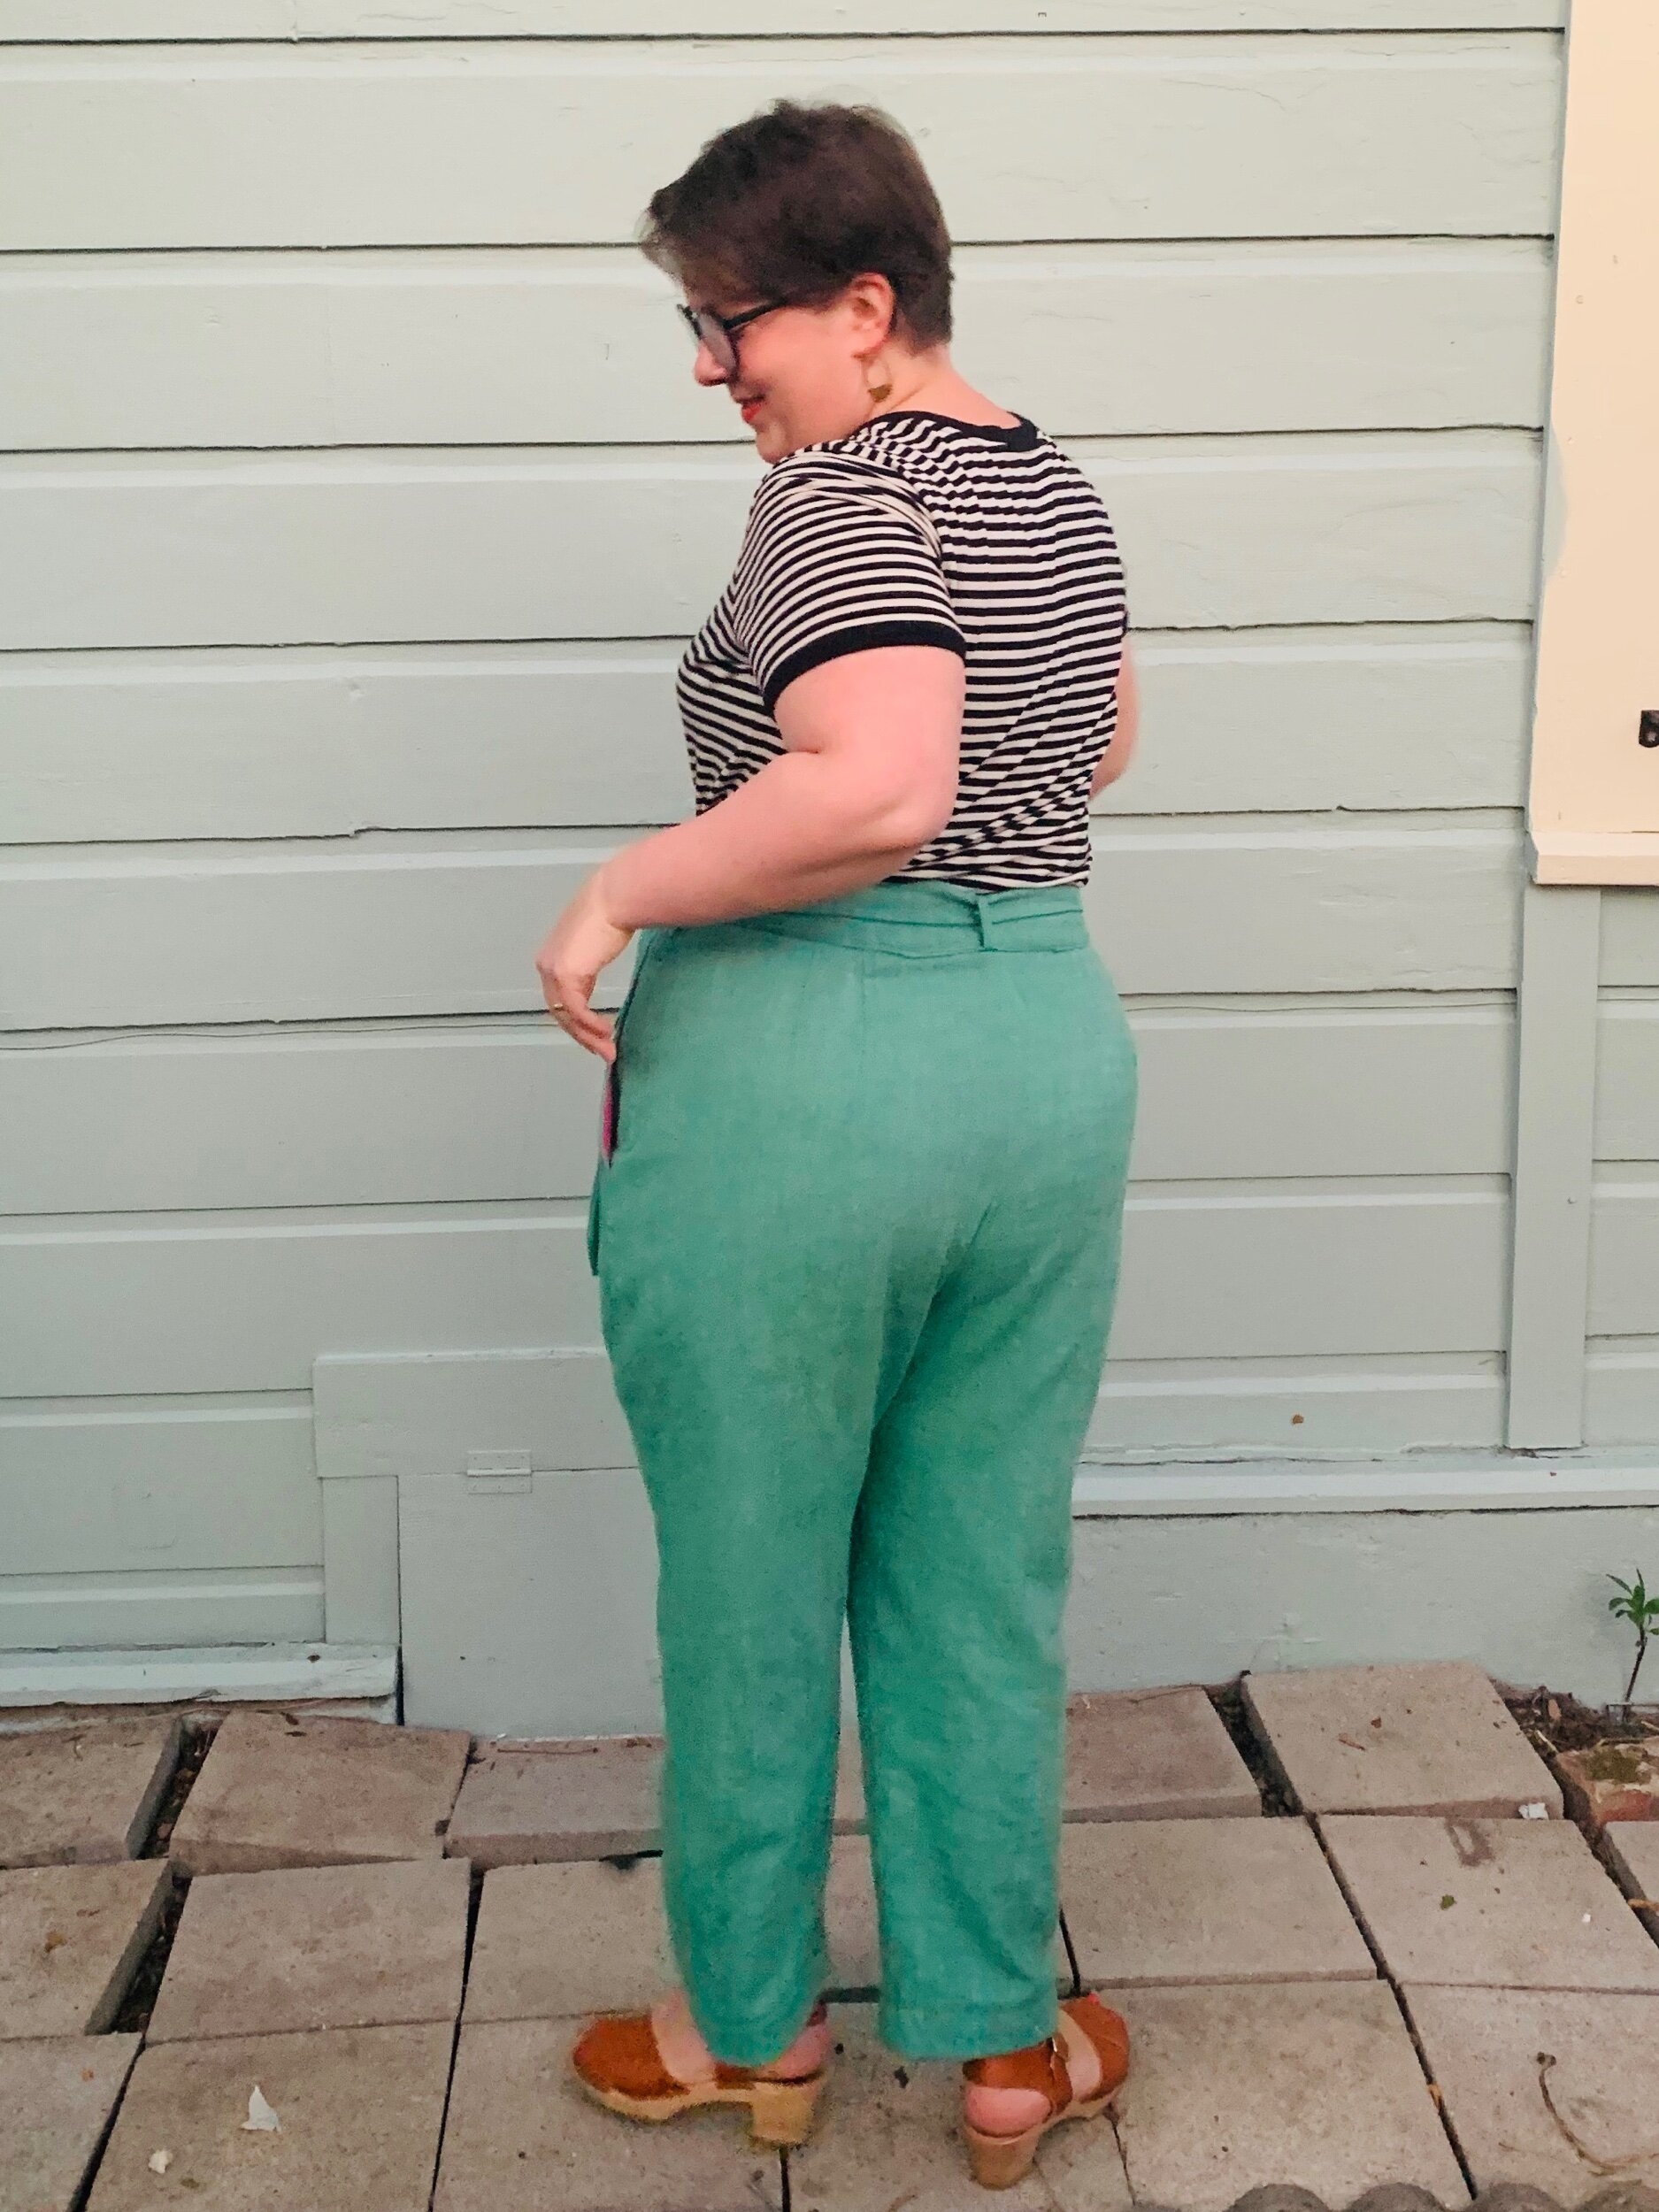
I made these Crew Trousers from Chalk and Notch using a deadstock yarn dyed linen I got in Hong Kong. The fabric is a mid-heavy weight linen with light blue warp and spring green weft. The color is simply fantastic! The color is fairly unusual, and nearly impossible to do justice with a photograph. Greens are a little tricky for me. I have a lot of red in my skin, especially in my face and a lot of greens make my look even more red. But, if I’m wearing this green on my bottom half, it doesn’t make me look like I just ran up the stairs—win-win!
My measurements are 43-37-50(-ish, my seated hip measurement is more like 54”). The instructions call for you to cut out a size based on your hips, and adjust accordingly for your waist. So I cut out a 22, but the waistband pieces for an 18, and adjusted the pleats and darts accordingly. (There are great instructions for adjustments of all kinds over at the Chalk and Notch website, too!) This was fairly straightforward, but also a little fiddly, for two reasons. 1—I had to figure out how much to increase the pleat depth and dart width. 2—This made some of the notches on the waistband irrelevant.

To deal with issue 1, I first measured the flat pattern piece waist width for the size 18. The flat width was 11.75” and each pleat was 1”. So I knew I needed my final piece to measure 9.75”. I then measured the flat pattern piece at a size 22, which was 12.75”. I subtracted 2” again for the pleats, and determined that each pleat needed to be 1.5” for my blended pair. I hadn’t blended sizes this way for pants before, but I think I might prefer modifying this way to grading at the waist. I want the extra fabric at the pleat so the fabric drapes to the hip the correct way. I followed the same method for the back pieces, increasing the dart width, but not the depth (I used the drill placement for the 22) to taper the waist to my measurements.
For issue 2, I was able to fall back on wonderful instructions that tell you how much overhang you want once the waistband is sewn on. That made it fairly easy!
The only other modification that I made was to shorten the pants an extra 1.5” to make them more ankle length. Truth be told, I generally like my pants slightly more cropped, but I’m trying out this length and I think I like it. Less likely that the skin above my socks shows when I’m sitting down! I feel like I’m just starting to get an appreciation for how clothes wear when I’m standing and sitting. Imagine that, clothes that look good sitting and standing!
For future pants, I think there is one modification that I would make: taper the leg slightly more from the knee to the ankle. I might also consider taking in the waist a smidge, possibly a full size, but at this moment, the belt fixes any problems as the linen relaxes throughout the day.

If you’re interested in trying out these pants, they come in sizes 0-24, and there is a shorts pattern, as well as the trousers I made. Gabriela, the force behind Chalk and Notch, is really awesome! Testing for her is one of my favorite experiences. She really cares about getting the best fit for your body, and offers plenty of advice about the modifications to achieve it. Her website is full of tutorials and generally great information. If this had been my first time sewing a pants zipper—I would have been lucky indeed! Can’t wait to see more Crew Trousers pop up!
xoxo