
It took a little longer than planned, but I finally sewed up a second pair of Pietra Pants.
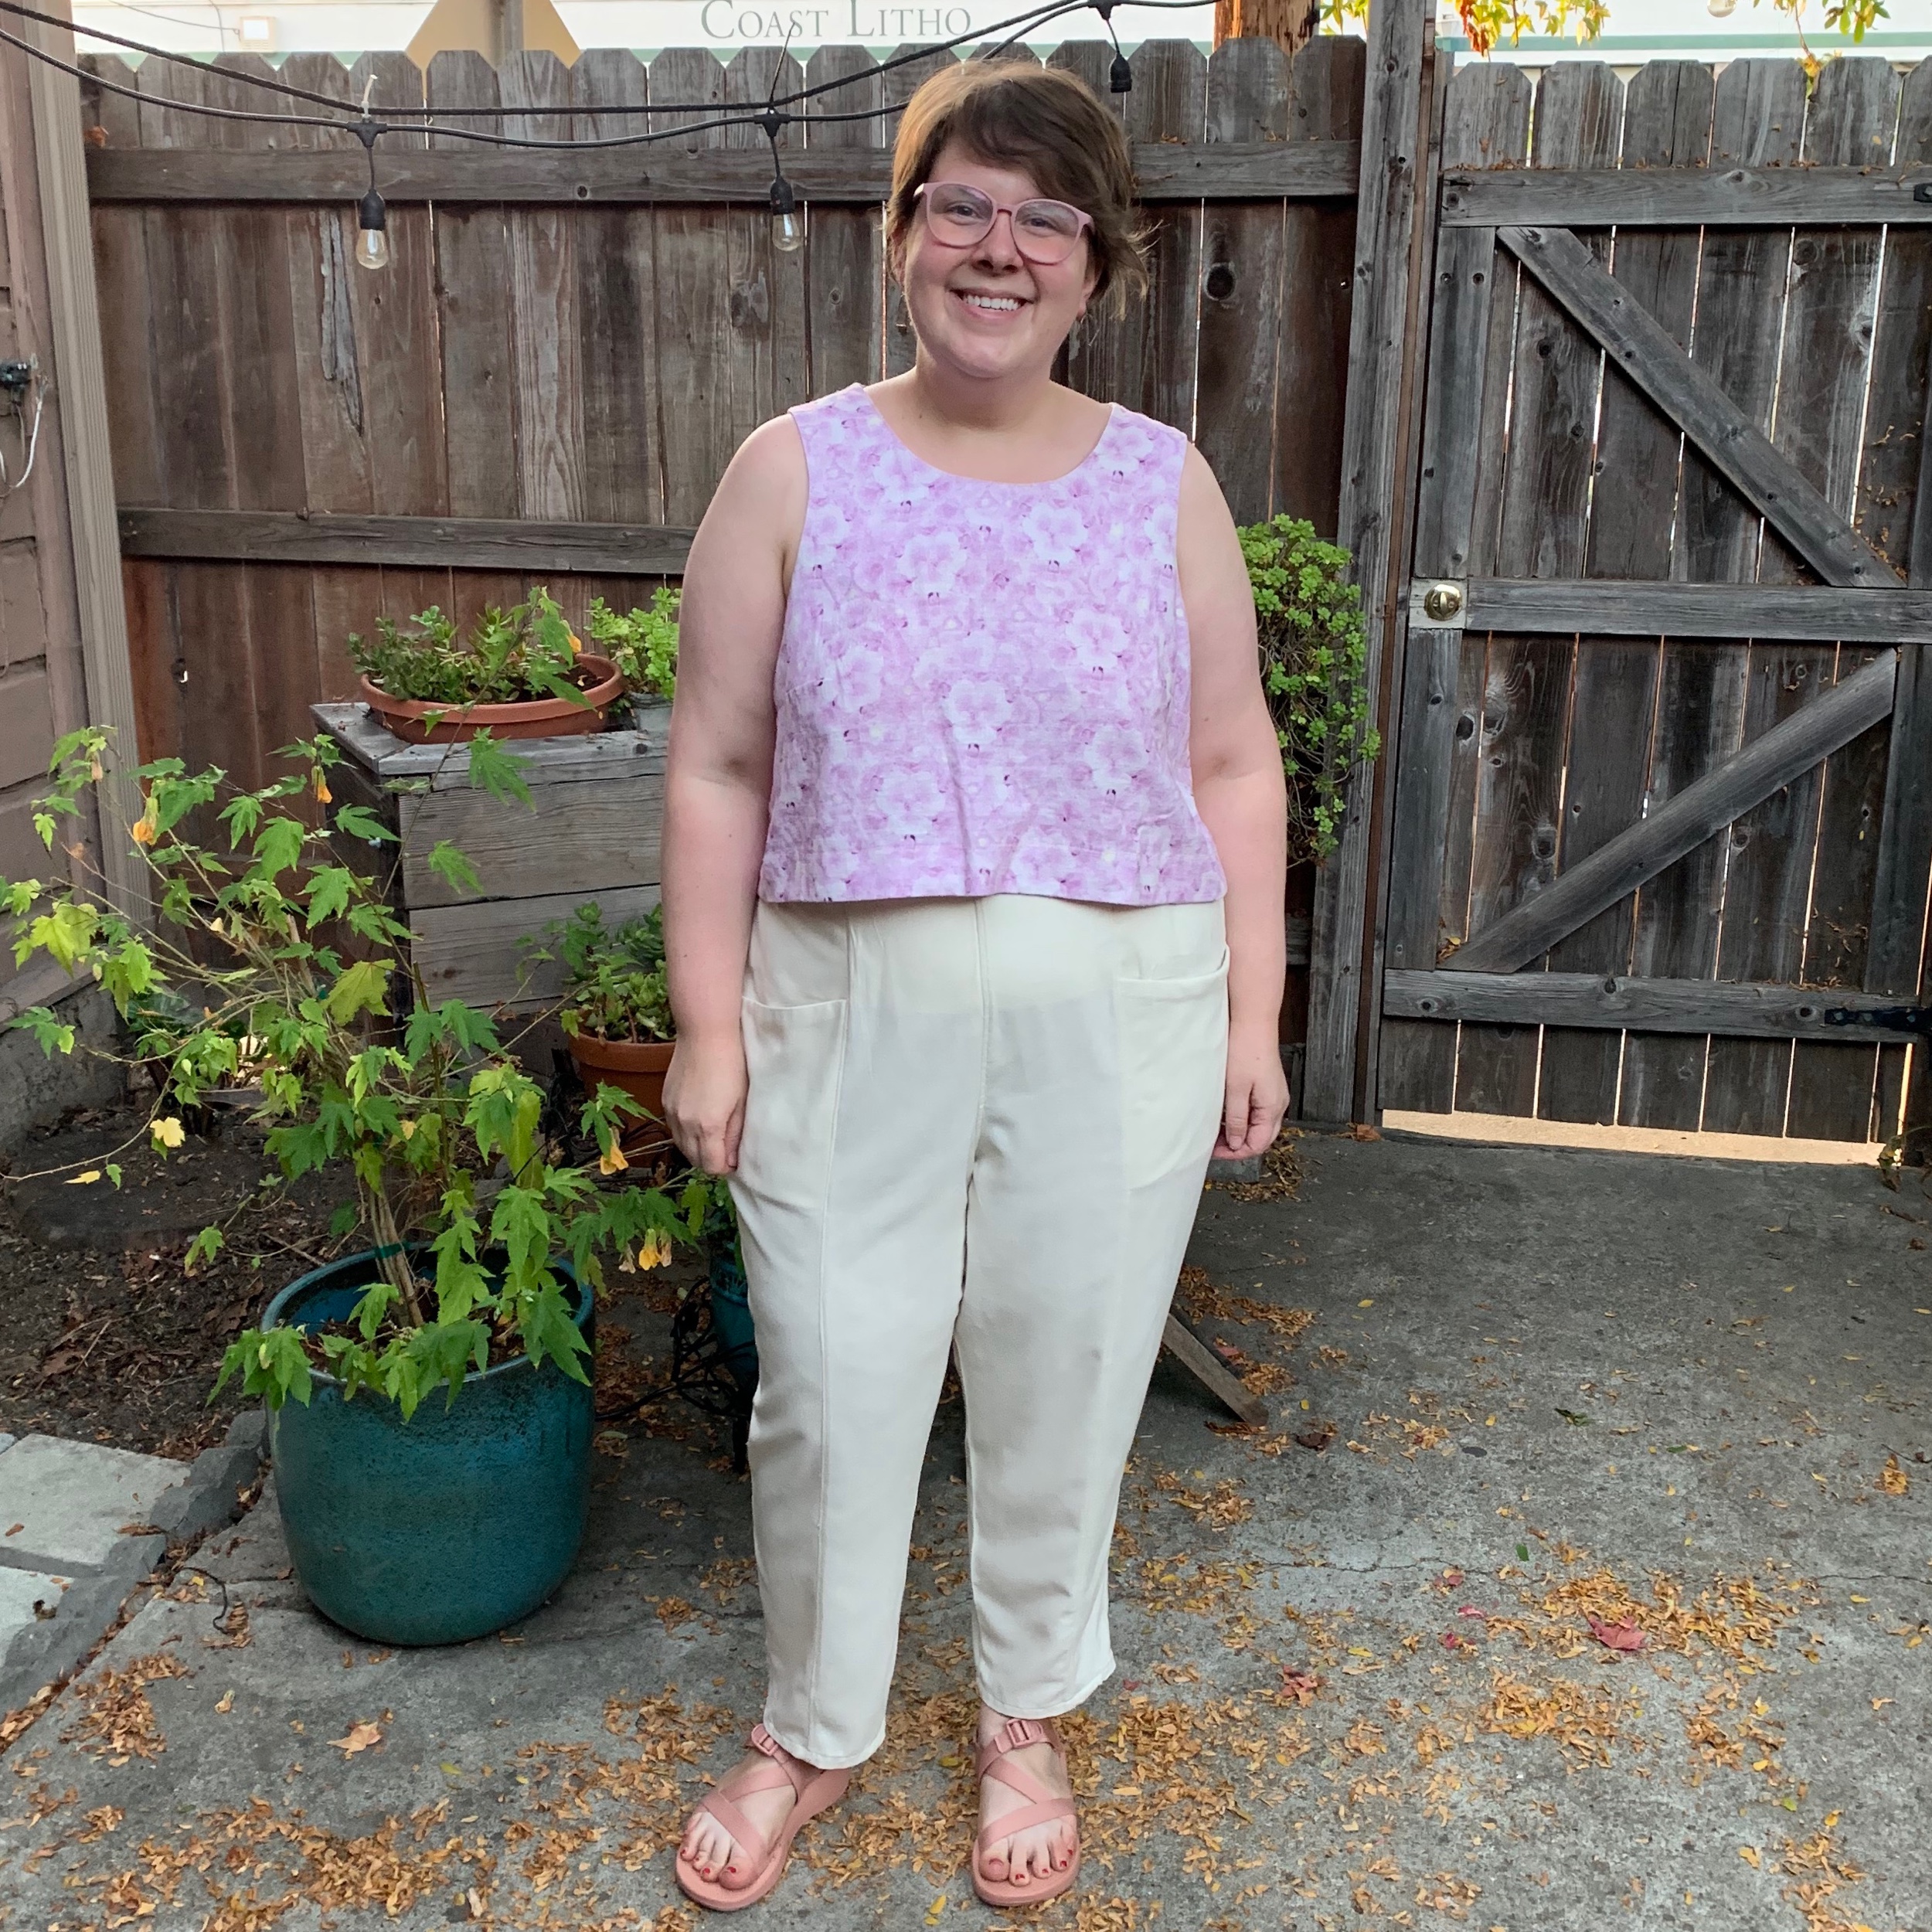
Looking happy in my new Pietras, paired with my Ashton Crop.
This time, I chose a lovely undyed silk noil with a herringbone weave from Stone Mountain and Daughter, my local fabric store. (I’m so lucky!)
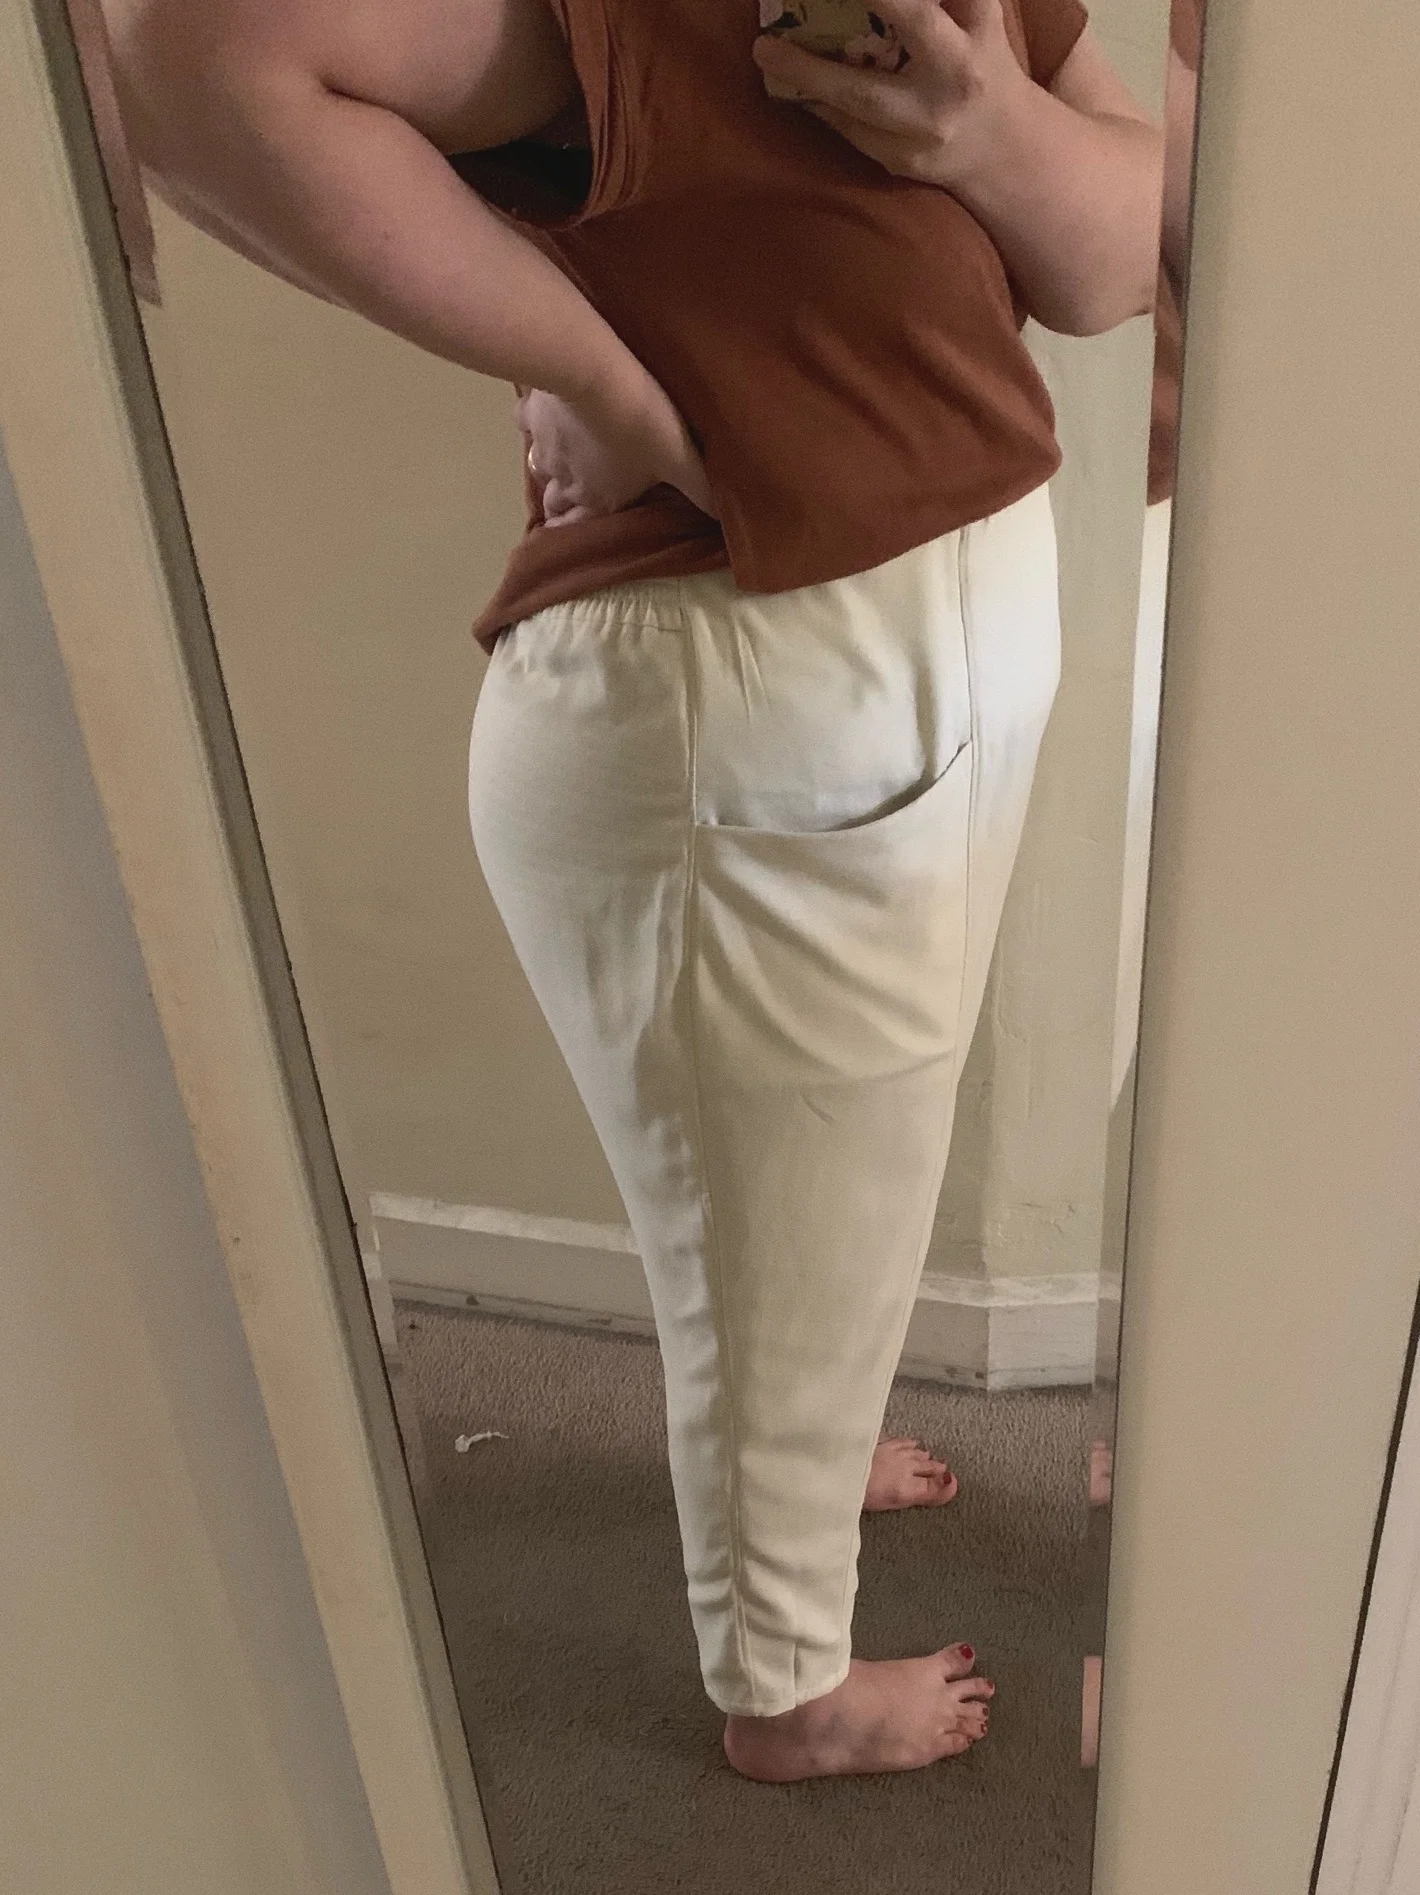
This is a bold choice. Cream pants? But I couldn’t get the idea out of my head and decided to press on. But note to self—don’t wear with black and white stripped underwear, like in these fitting selfies.

For this pair, I wanted to use French or lapped seams wherever I could to keep my seams nice and neat. In a few places where I used French seams, I think it actually would have been preferable to use lapped seams, so for the next pair (?!), I will go that route.

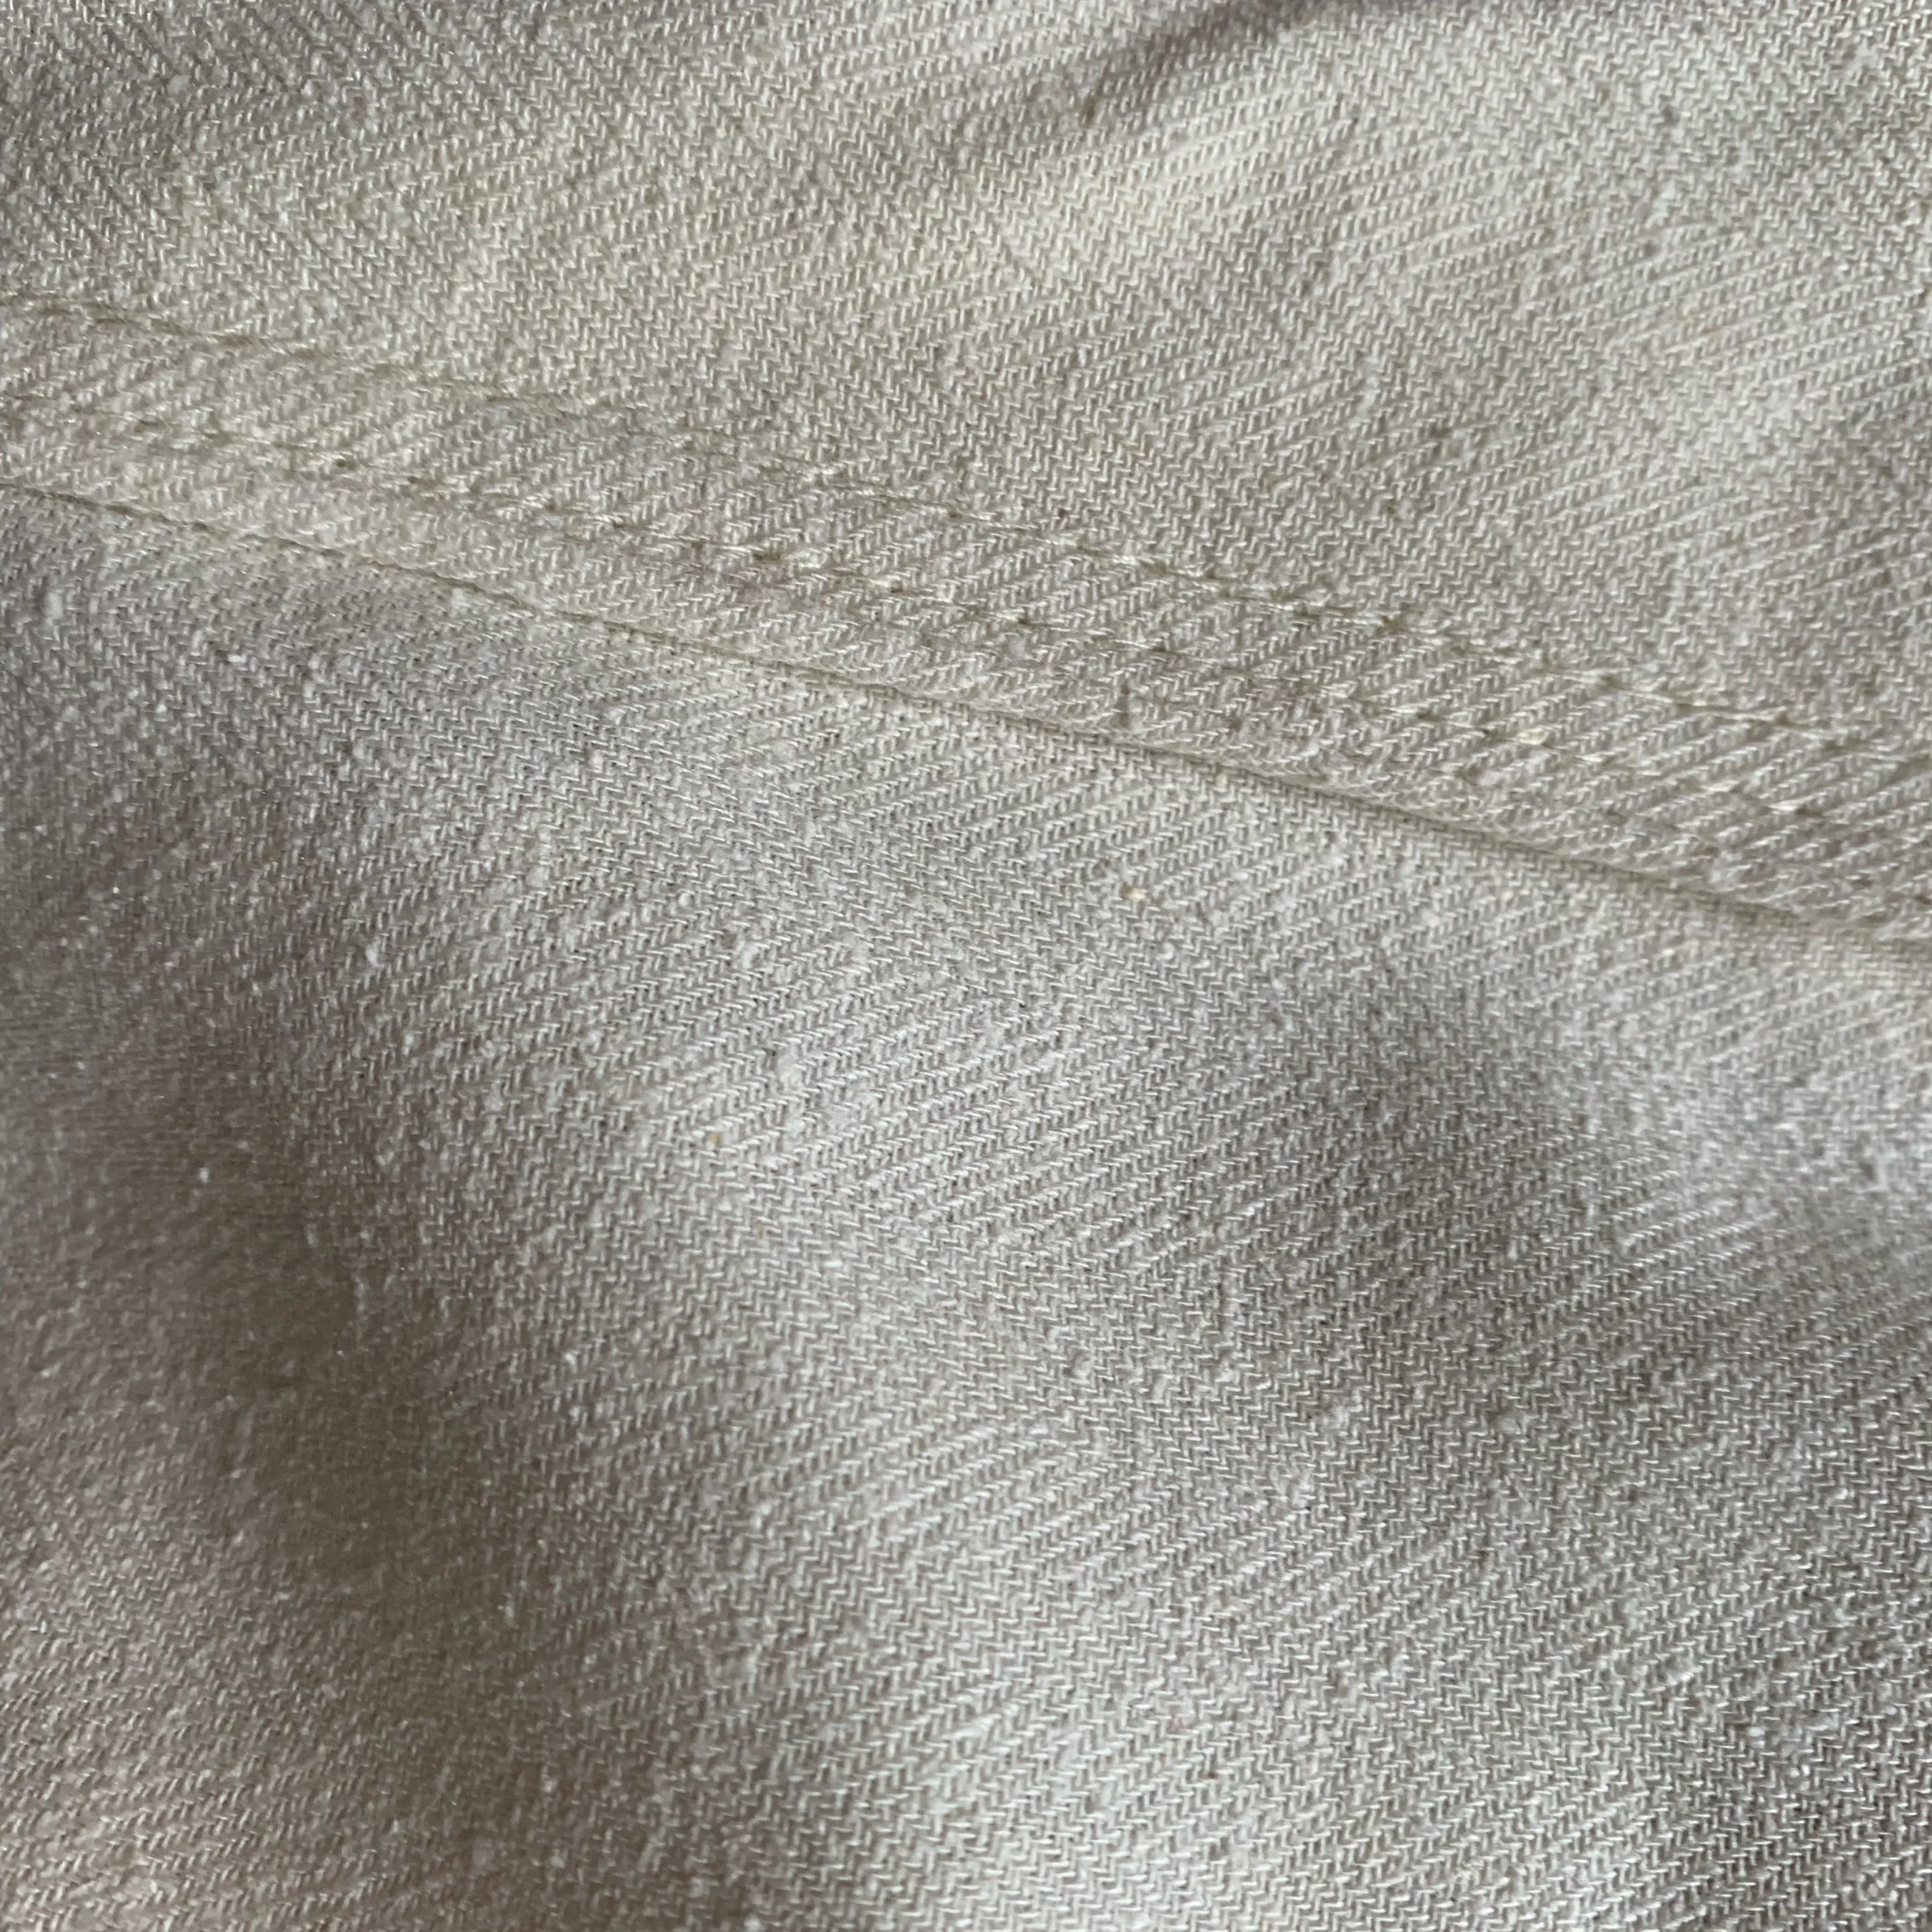

A lapped or flat felled seam is a great option when your fabric is bulkier, or you’d prefer to cut down on the bulk of the seam, but still want a very secure seam. There are great tutorials out there. But this is my favorite way to sew one:
Sew the seam with the pattern’s seam allowance. You can have the seam on the outside or the inside, so just decide what effect you’d prefer.
Decide which direction you’d like the seam to lie. If you want to press the seam to the right, trim the right seam allowance by half. And vice versa if you want the seam to lie to the left.
Press both seam allowances to the side you’ve selected
Fold the longer seam allowance under the trimmed seam allowance. Give a nice firm press. Depending on your fabric and iron, you may need to pin.
Sew your seam about 1/8” from the folded edge.
Press your seam again and admire your pretty, strong seam!

Looking pretty good from the back, too!
Overall, to this pair, I added a little ease to the thighs, and scooped out the back crotch a smidge. By that, I mean I made the back crotch a bit deeper, so I cut the crotch lower. This is a pretty easy fix, and it can help if you’re feeling like you’re about to get a wedgie. I find with elastic pants this is more a risk than with non-elastic waistbands. At least for me—because my waist is so much smaller than my hips (waist 46-37”; hips 50-54”), the waistband moves to find the smallest point. So if the pants are not designed to fit at my natural waist, they go there anyway!
I’m a big fan of these new pants and think they’ll be perfect for our trip. Silk Noil is a wonder fabric. It doesn’t wrinkle that much, and is nice and cool. Perfect for traveling and for a hot, humid climate! PLUS, these cream pants go with all my pastel wardrobe. Win! The trip is just a bit more than 2 weeks away, so I’ll have to start packing soon and see what fits and what needs to be eliminated. Wish me luck!
